Basic workflow
Welcome to My AR Studio!
In this video:
- 0:00 Welcome
- 0:10 What is My AR Studio?
- 0:50 Tutorial, documentation and how to ask for assistance
- 1:15 Let's get started!
Upload your first project
In this tutorial we will see how to upload a GLB file in My AR Studio.
- 0:00 what is the editor?
- 0:09 GLB download link
- 0:26 let's get started!
- 0:30 import the GLB file
- 0:45 move the model in the editor
- 1:08 give it a name
- 1:15 create the poster
- 1:55 save and publish the 3D object
1. Add a new project
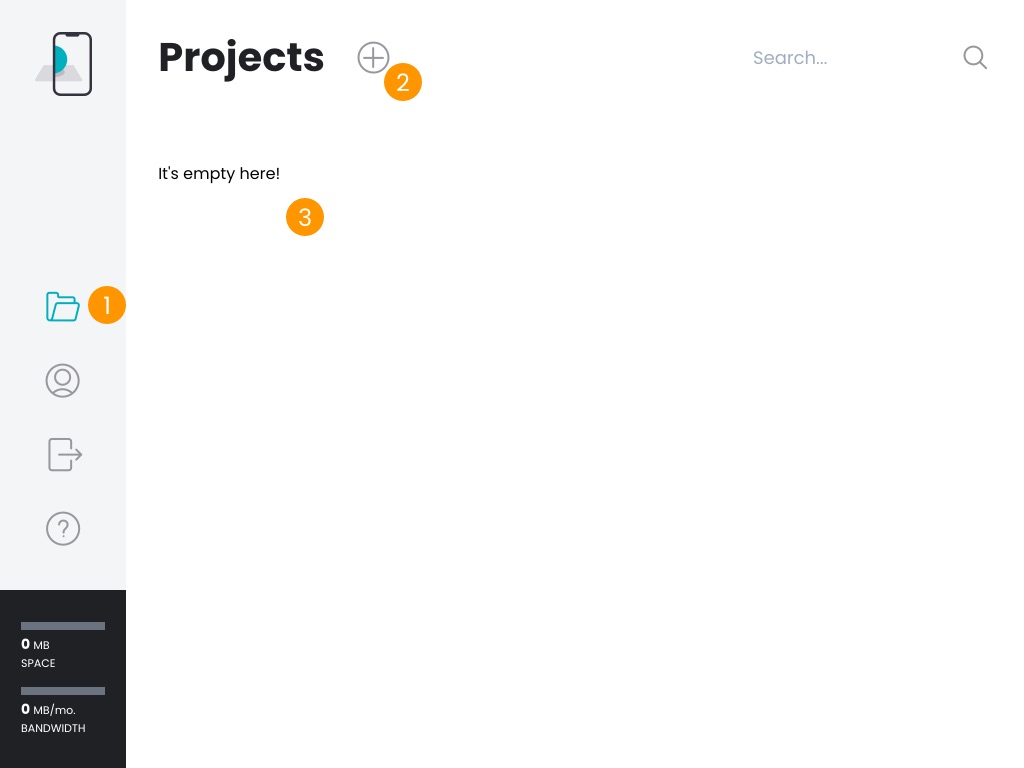
After login you will get to the Projects page. You can access this page also by clicking on the icon 1.
Add a new project by clicking on 2. New added project will be listed below 3.
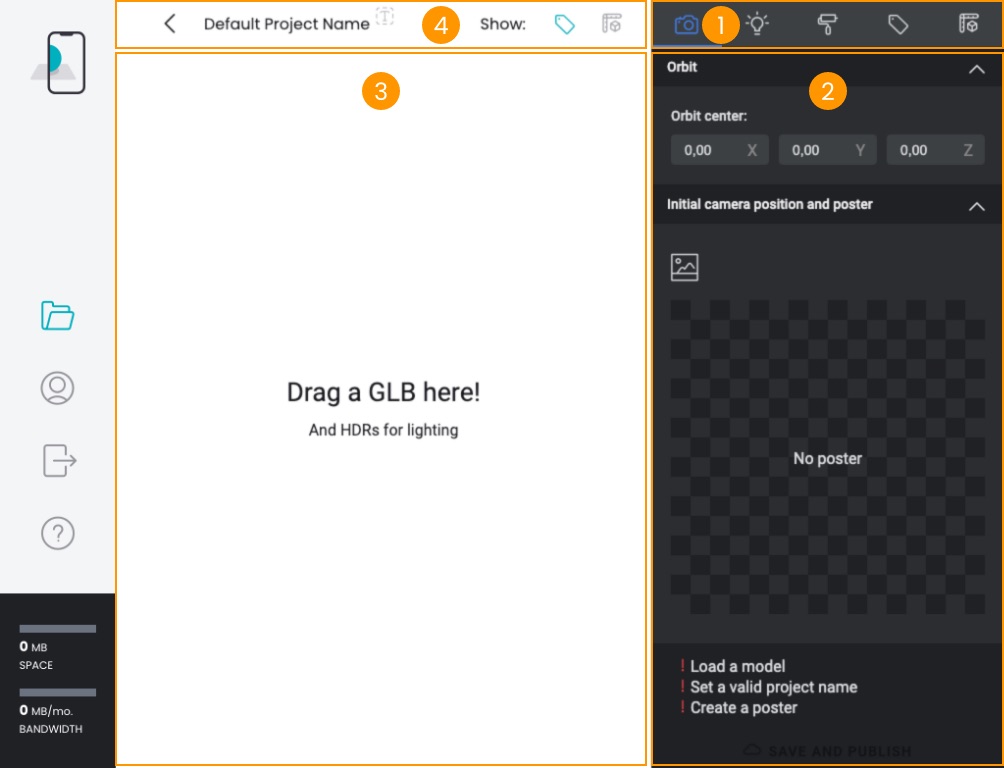
You are now in the Editor page. The main parts are:
- Panel tabs 1
- Panel content 2 of selected tab
- 3D View 3
- Topbar 4
2. Import a 3D model
To start drag and drop a .GLB file into the 3D View 1 to load a 3D model. If you don't have one at hand click on the button below to get one and follow along.
Download GLB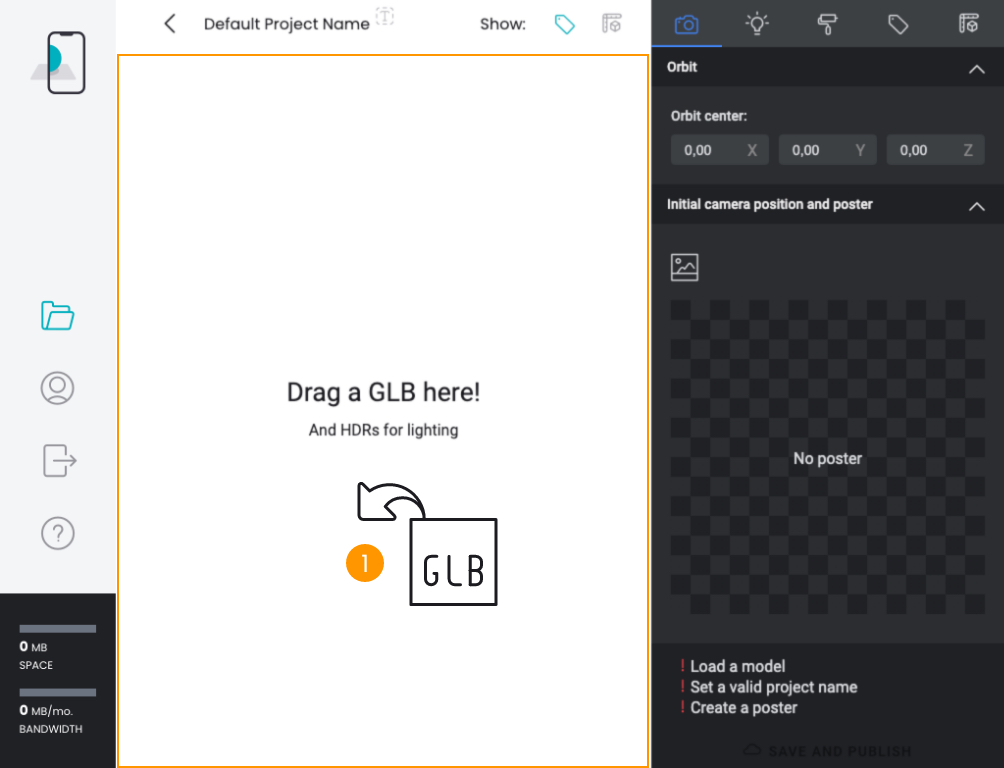
3. Take a poster
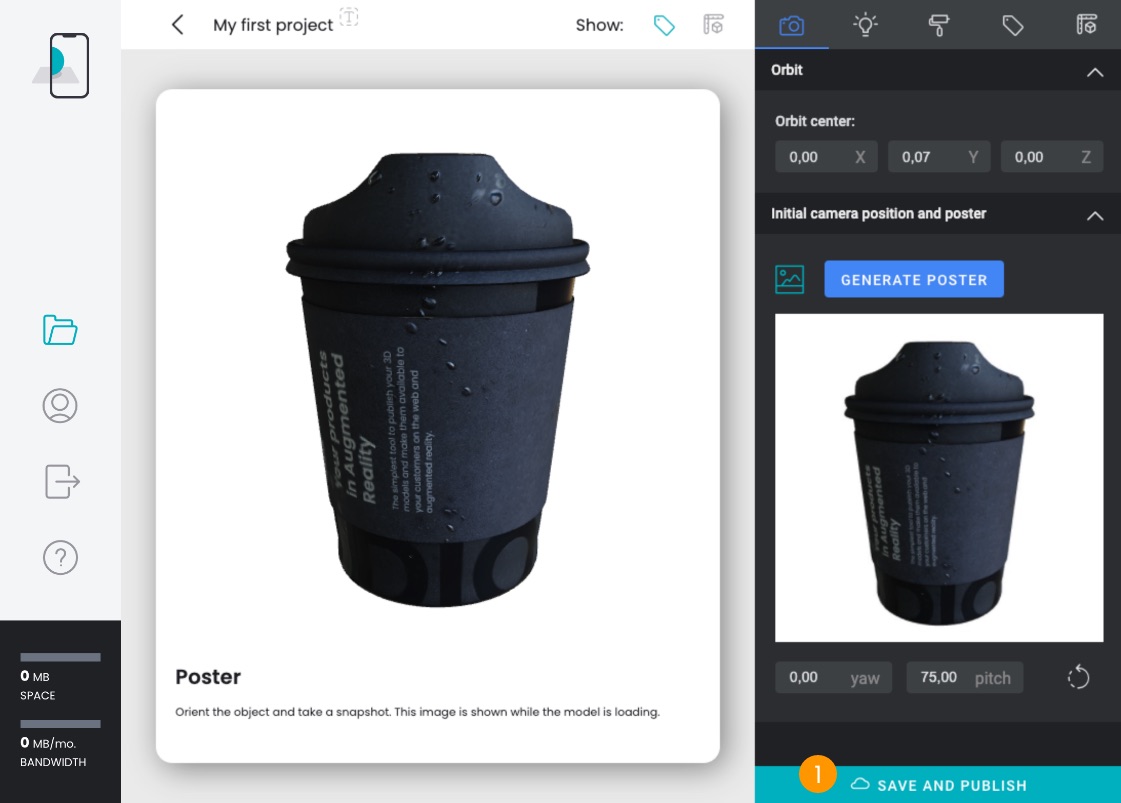
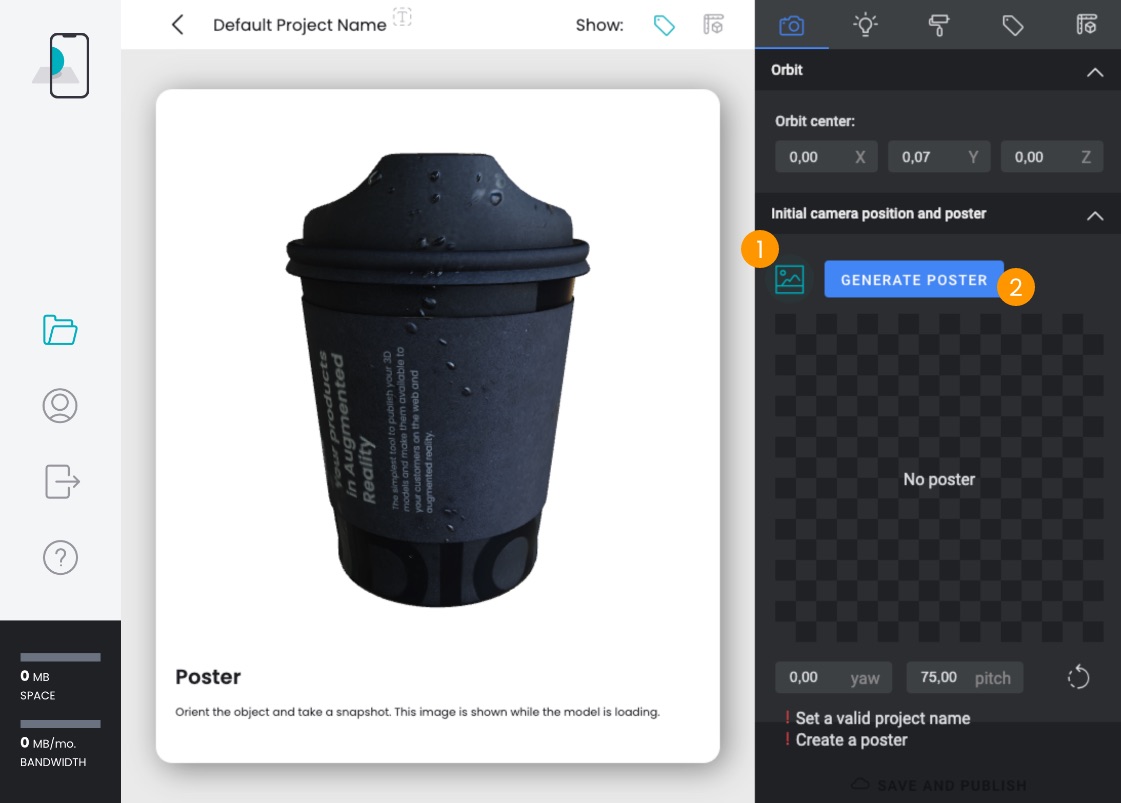
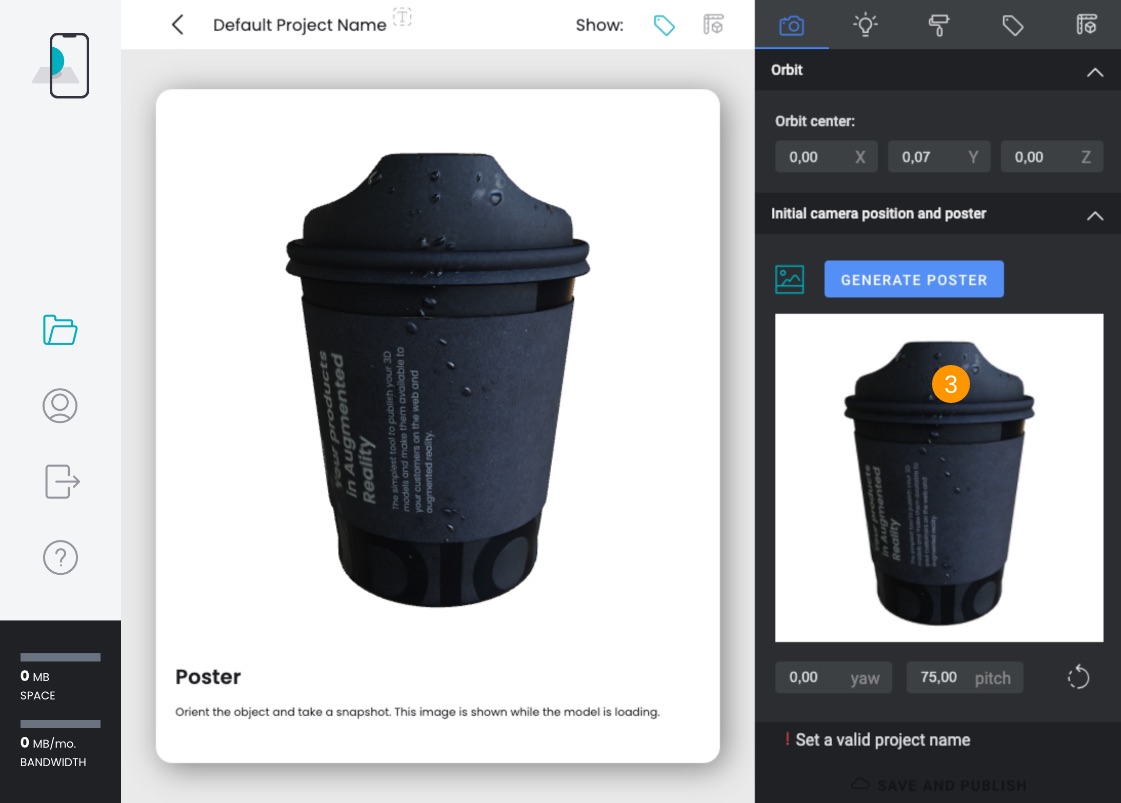
Now click on the on the Export panel 1 to enable poster mode. Click on the GENERATE POSTER button 2.
The taken poster will appear below 3.
4. Set a name
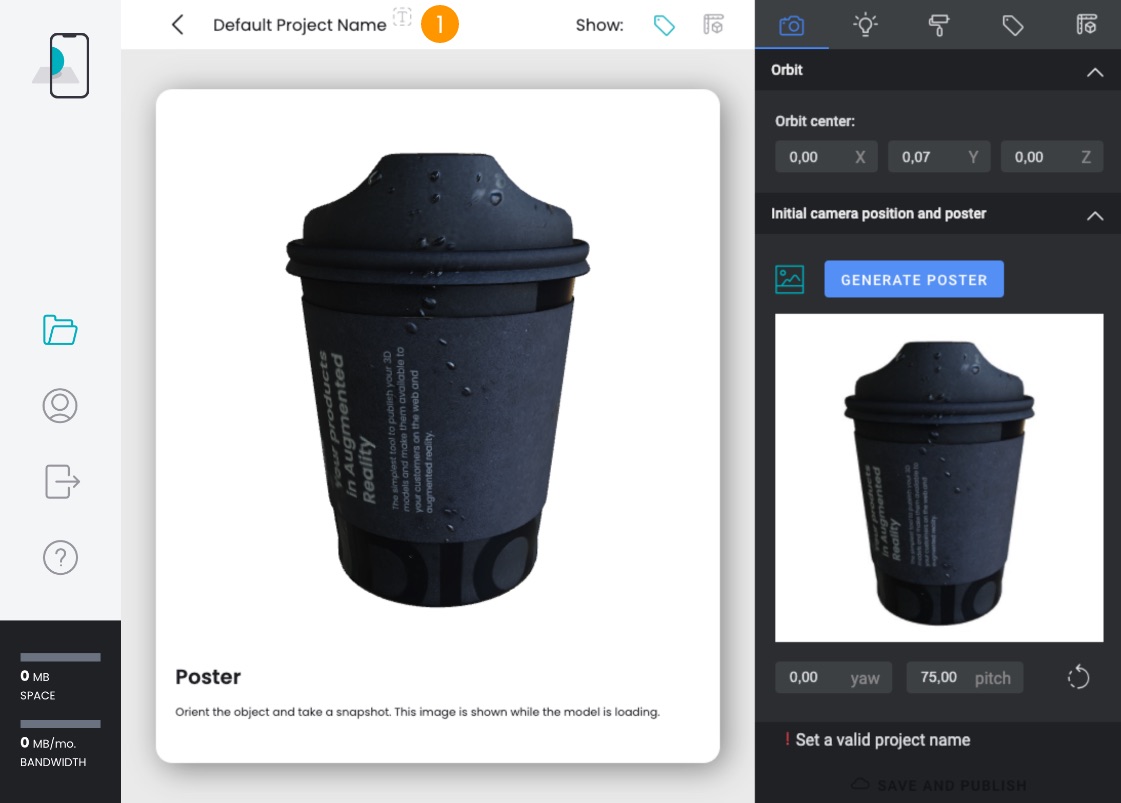
Now click on the icon on the Topbar 1 and enter a name for you project.
5. Publish to cloud
You are now ready to export and publish to the cloud. Click on the SAVE AND PUBLISH button 1: a window will appear while your model is sent to the cloud for further processing and publishing.
