Basic Workflow for Web 3D and Augmented Reality
In this tutorial, you will learn how to import a 3D object from Cinema 4D into My AR Studio for web 3D and augmented reality (AR) visualization. Follow these steps to export your model from Cinema 4D, upload it to My AR Studio, preview it on your smartphone in AR, share it and embed it.
Adjusting Object Position and Size
Once your model is ready, ensure that it is positioned correctly and scaled to the appropriate size.
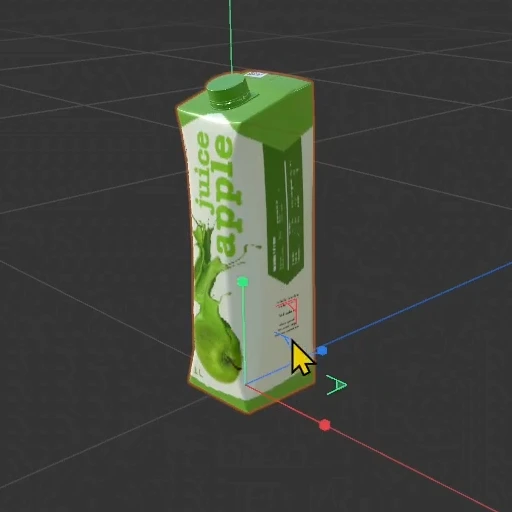
- Place your model at the origin
- Scale to the appropriate size. You can use the Transform tools to move, rotate, and scale the object.
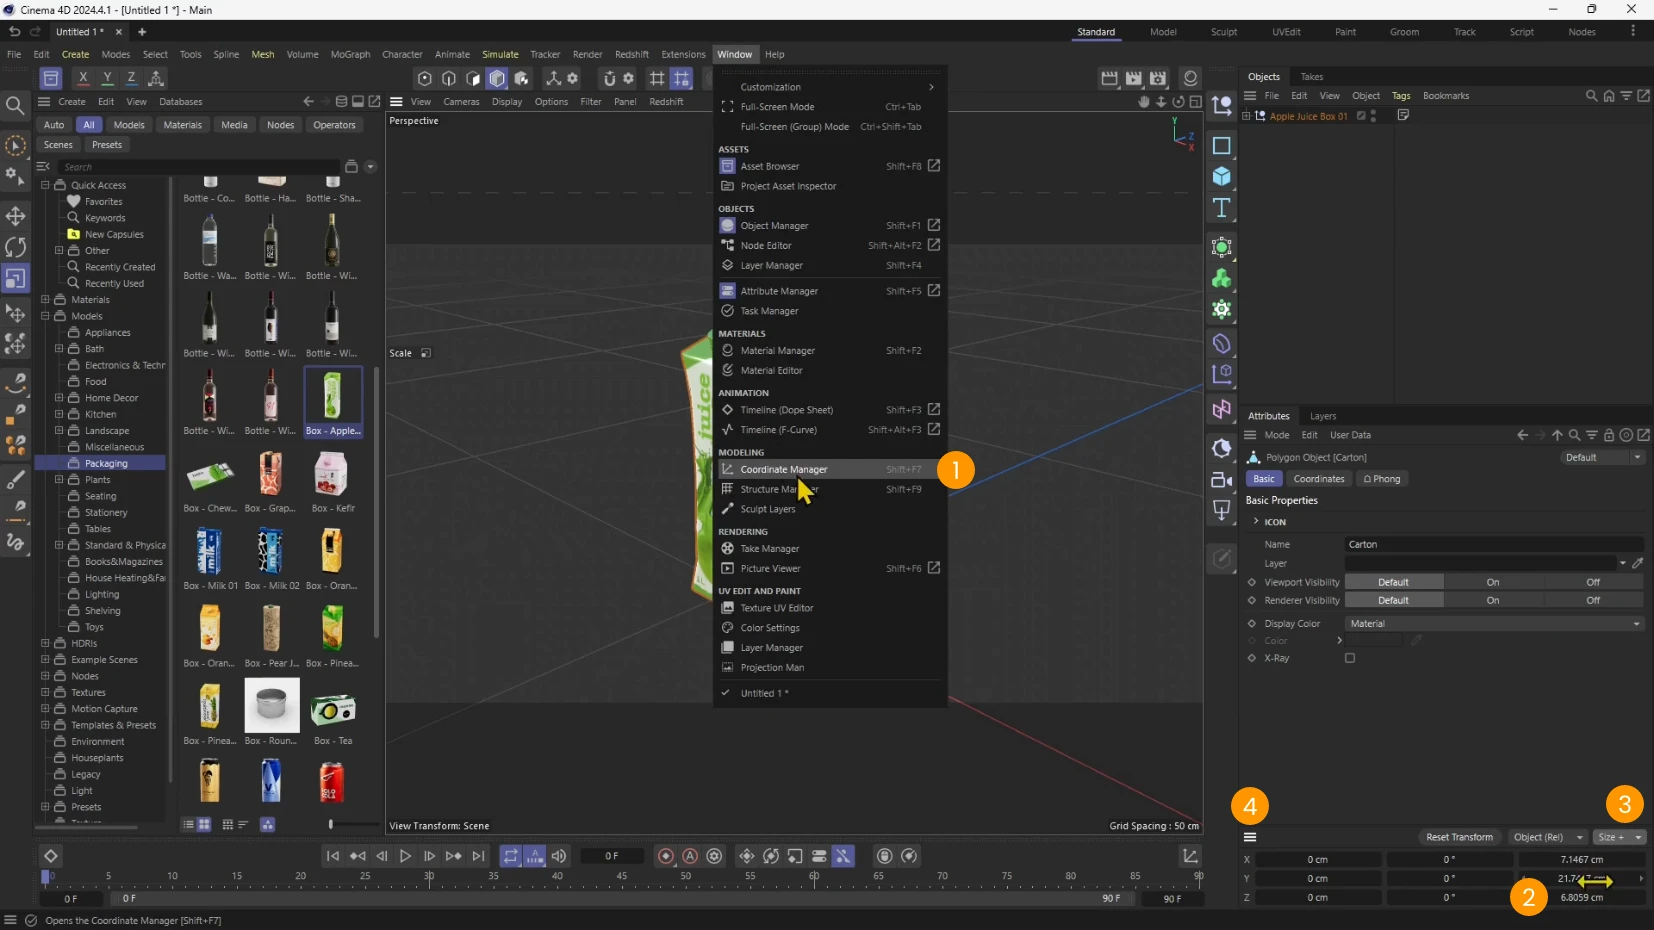
- To verify its dimensions, open the Coordinate Manager 1 (Shift+F7) and check the X, Y, and Z axis values for width, height, and depth 2. You can also set the dimensions in this panel and enter the exact measure.
- You can use the "Size +" option to include all the children of the selected node 3
As for all the panels is Cinema 4D you can move and dock the panel at your preference 4
Managing Scene Complexity
Before exporting, review the complexity of the model to avoid performance issues when viewed in AR.
- Right-click on the object 1 and select Object Information 2.
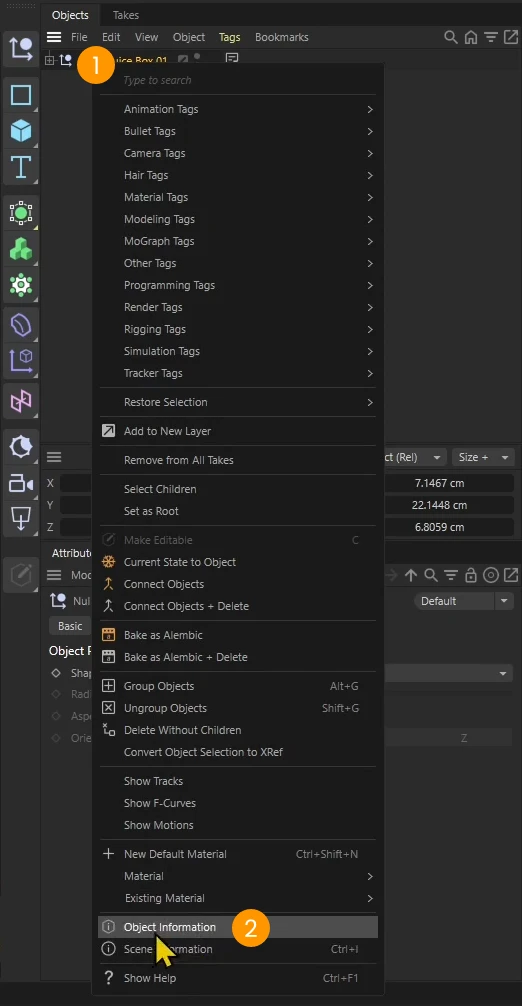
- Check the number of polygons in window that opens 3.
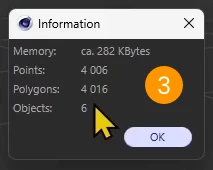
If necessary, simplify the scene by reducing complexity:
- check if you have subdivisions generators active
- remove non visible parts
- apply some form of decimation
- limit texture resolution (you can do this in the Export phase)
Exporting to GLB Format
Now, export the model in GLB (binary) format, which is compatible with My AR Studio.
- Go to File 1 > Export 2 > GLTF/GLB, and click the settings (gear) icon 3.
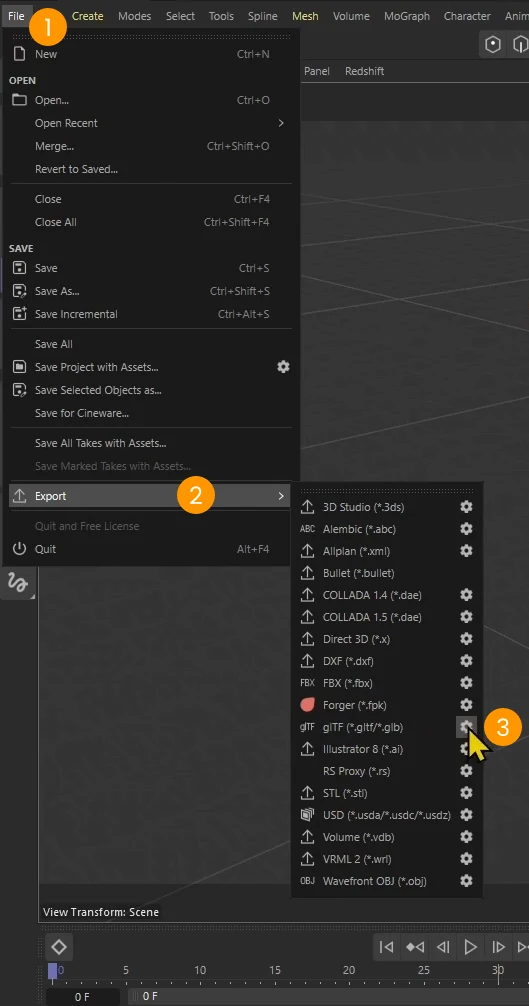
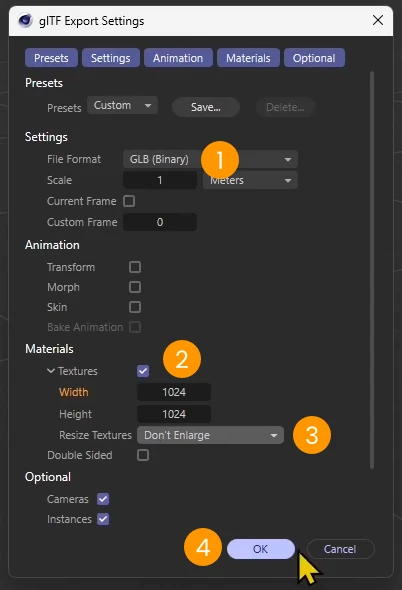
- In the glTF Export Settings panel:
- Set the File Format to GLB binary 1.
- Enable the textures 2.
- You can shrink the texture resolutions by setting "Don't Enlarge" and setting a texture size.
- Click su OK 4
Uploading to My AR Studio
After exporting your model, head to My AR Studio via your browser to upload the file.
- Go to My AR Studio, click Try Now, and log in or create an account.
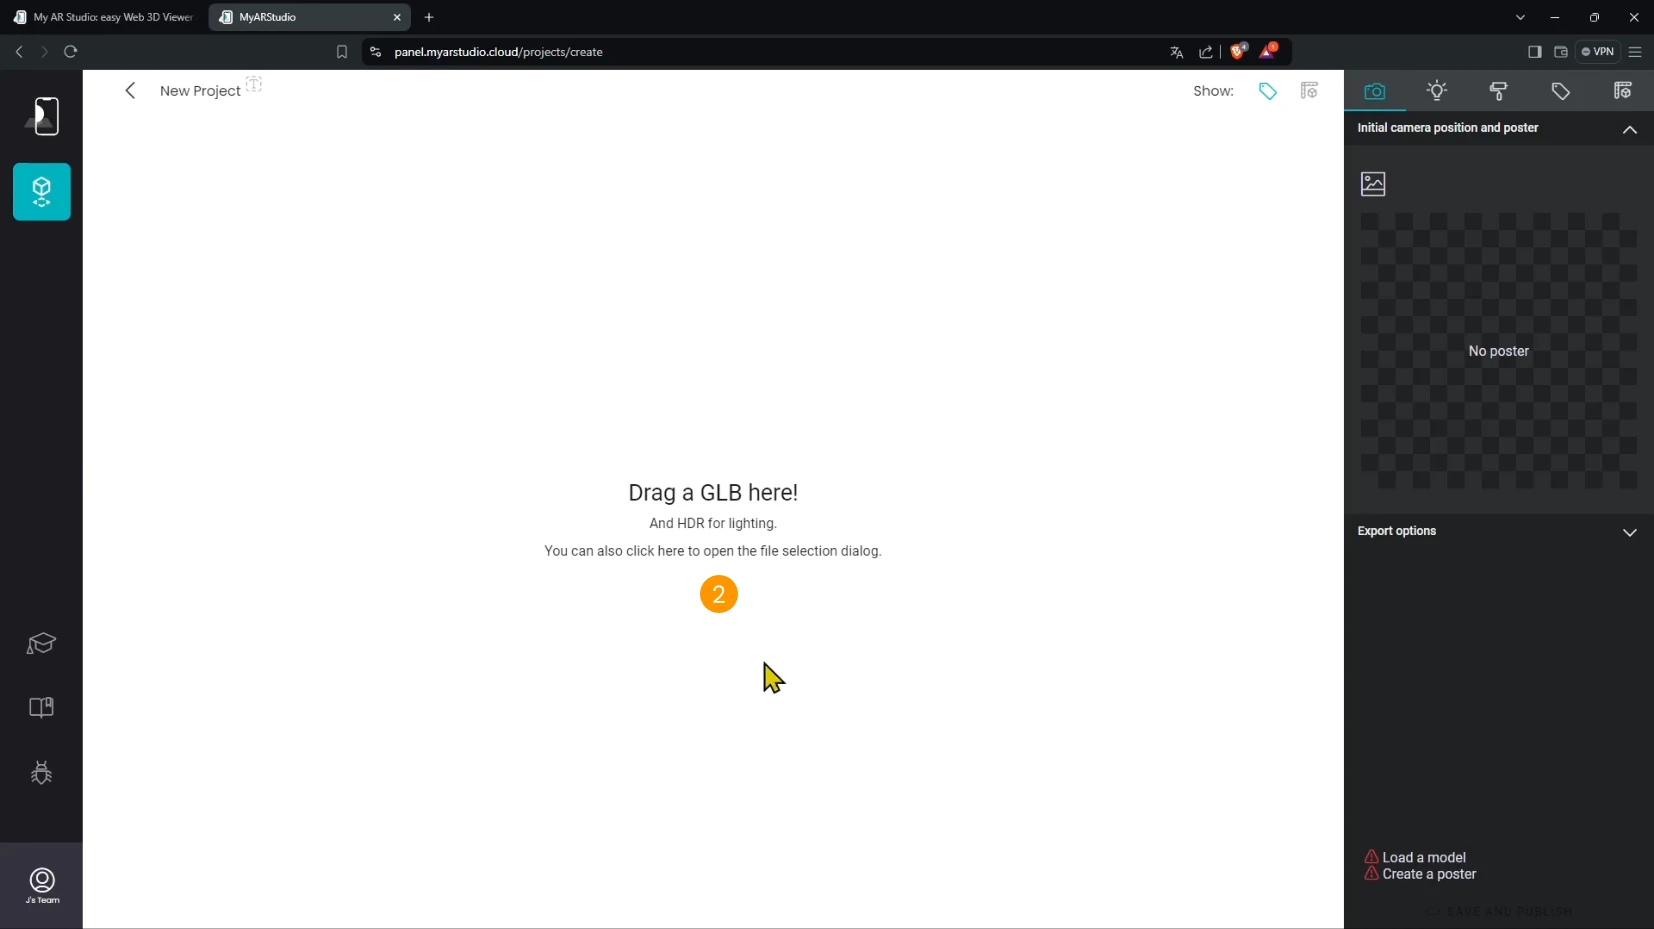
- Once inside your workspace, click the 1 icon to upload the exported GLB model.
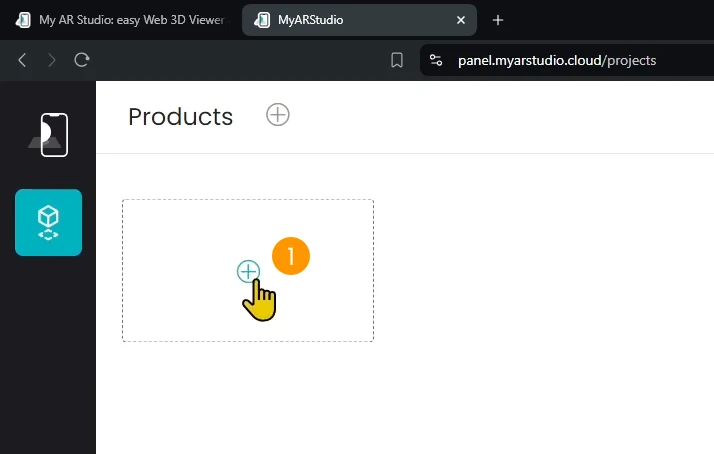
- Either drag-and-drop the GLB file into the white area 2
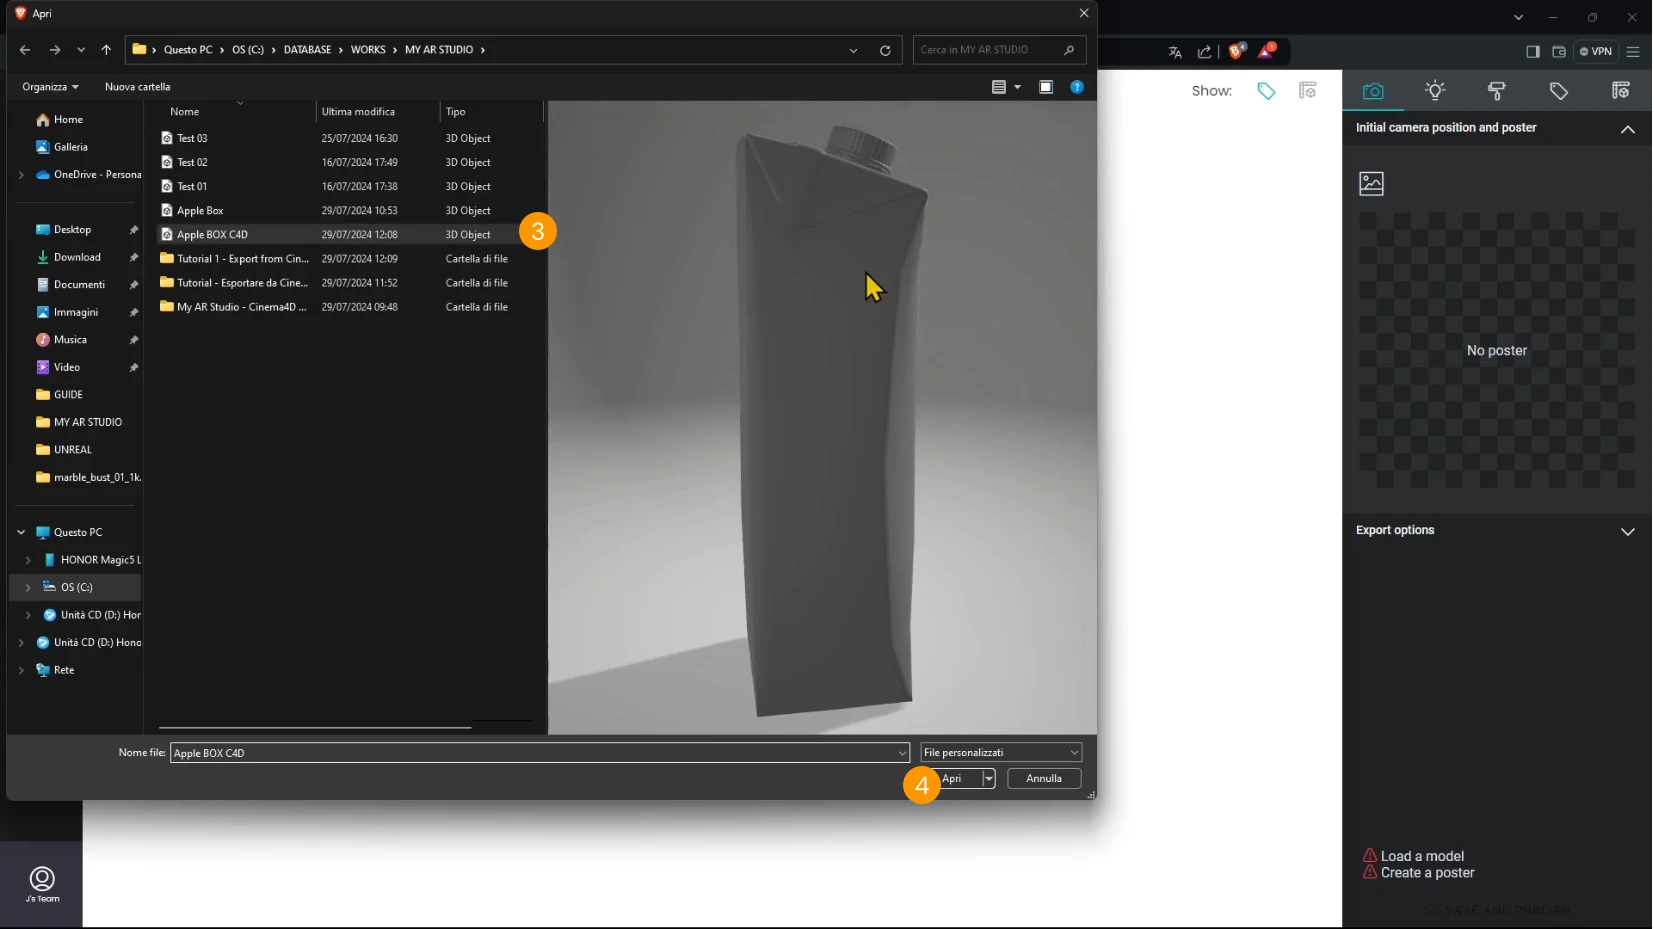
- or click in the white area 2 to open a File selection dialog, select the GLB file from your computer 3 and click Open 4.
Generate the Preview image
Once uploaded, you can preview and publish your model for AR visualization.
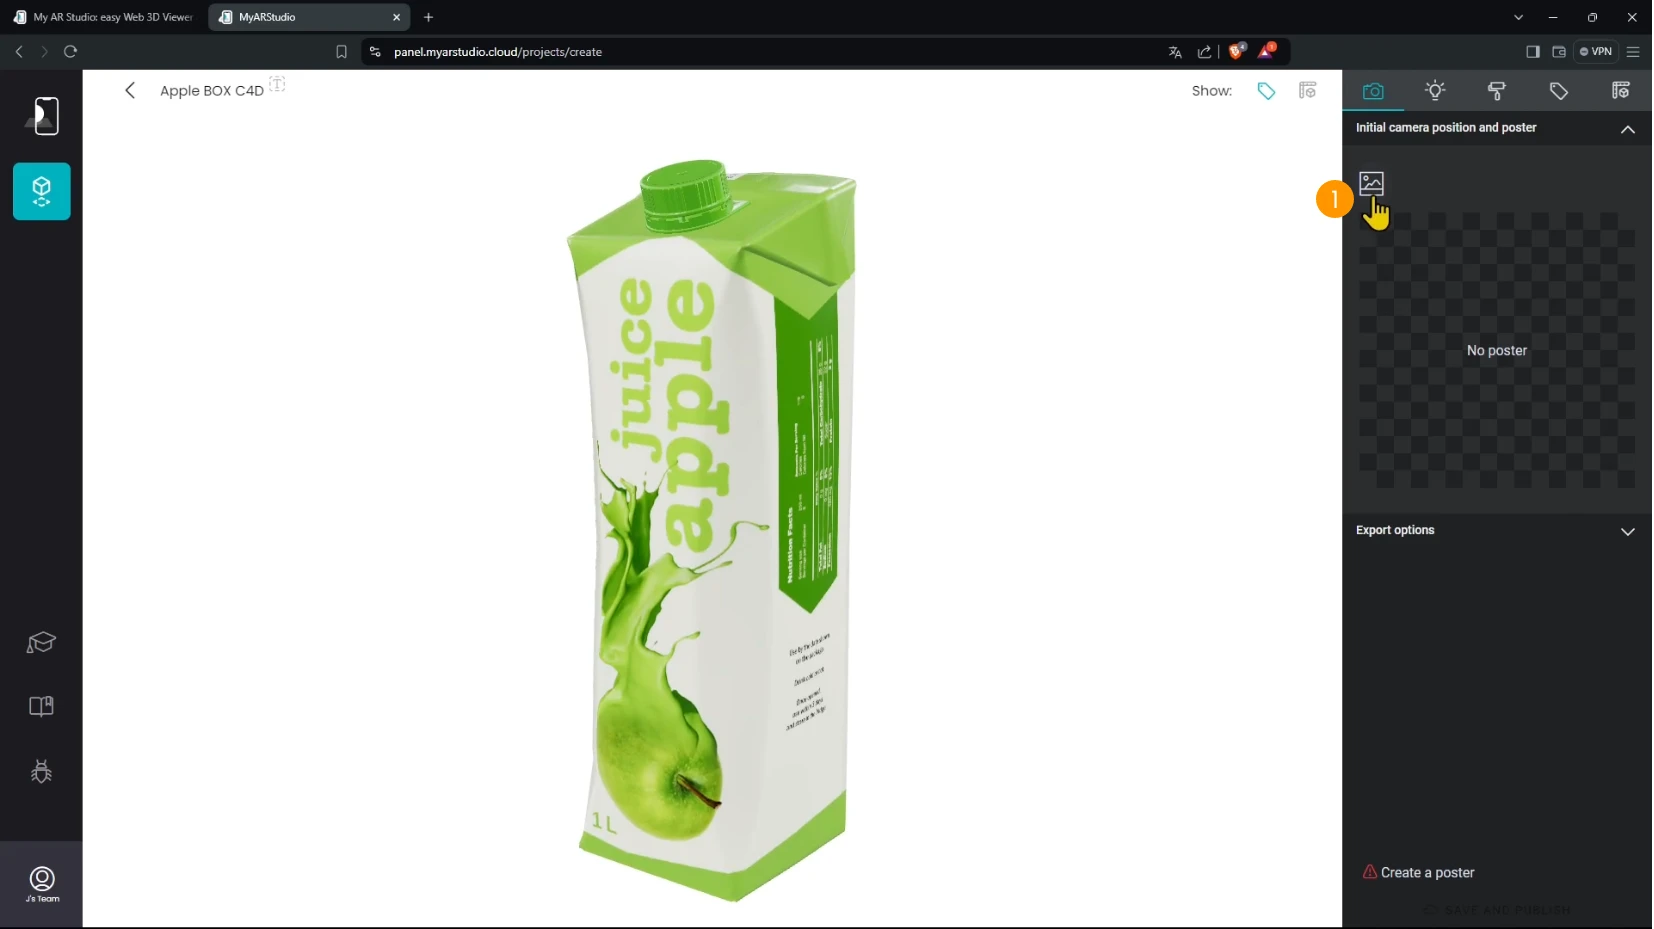
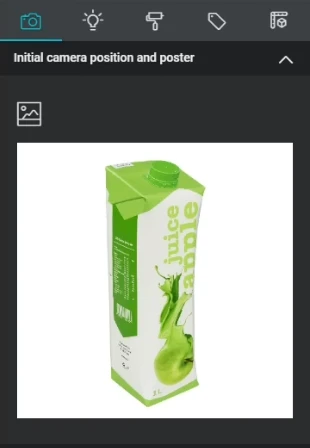
- Use the Generate Preview feature to capture a poster view of your 3D object.
- Click on the button 1 to enter Polaroid mode
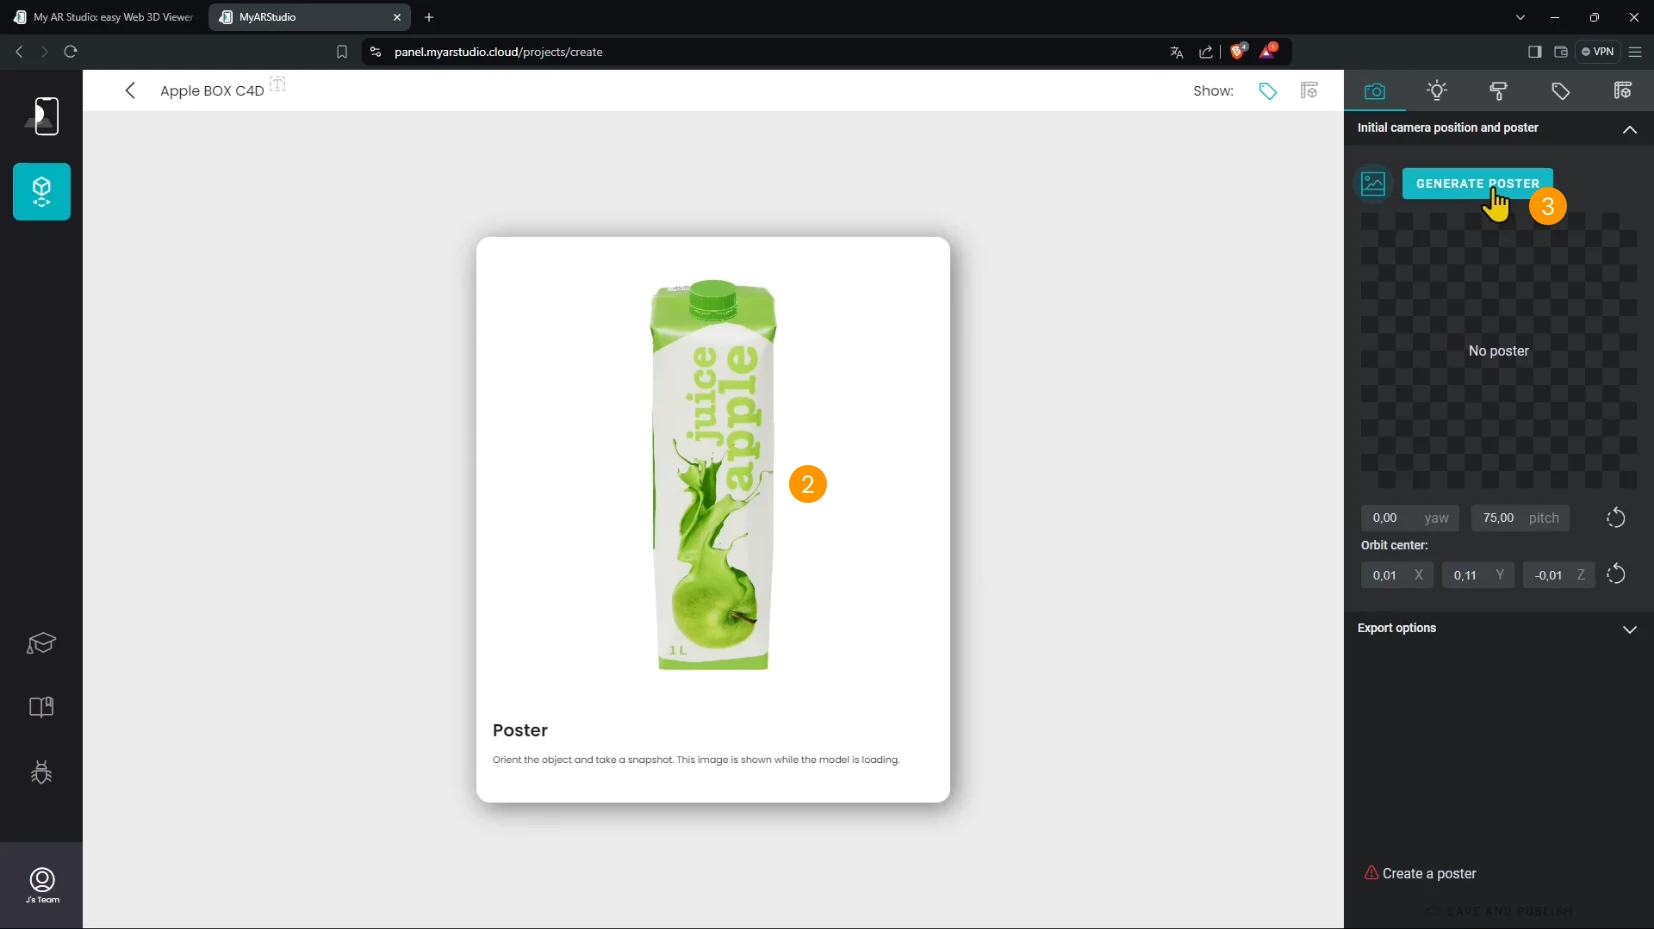
- Click and drag the object to adjust the orientation 2. You can also zoom and pan.
- Once happy click the GENERATE POSTER button 3
- The preview image will be generated
- To exit Polaroid mode click again on the button
Check the dimensions (optional)
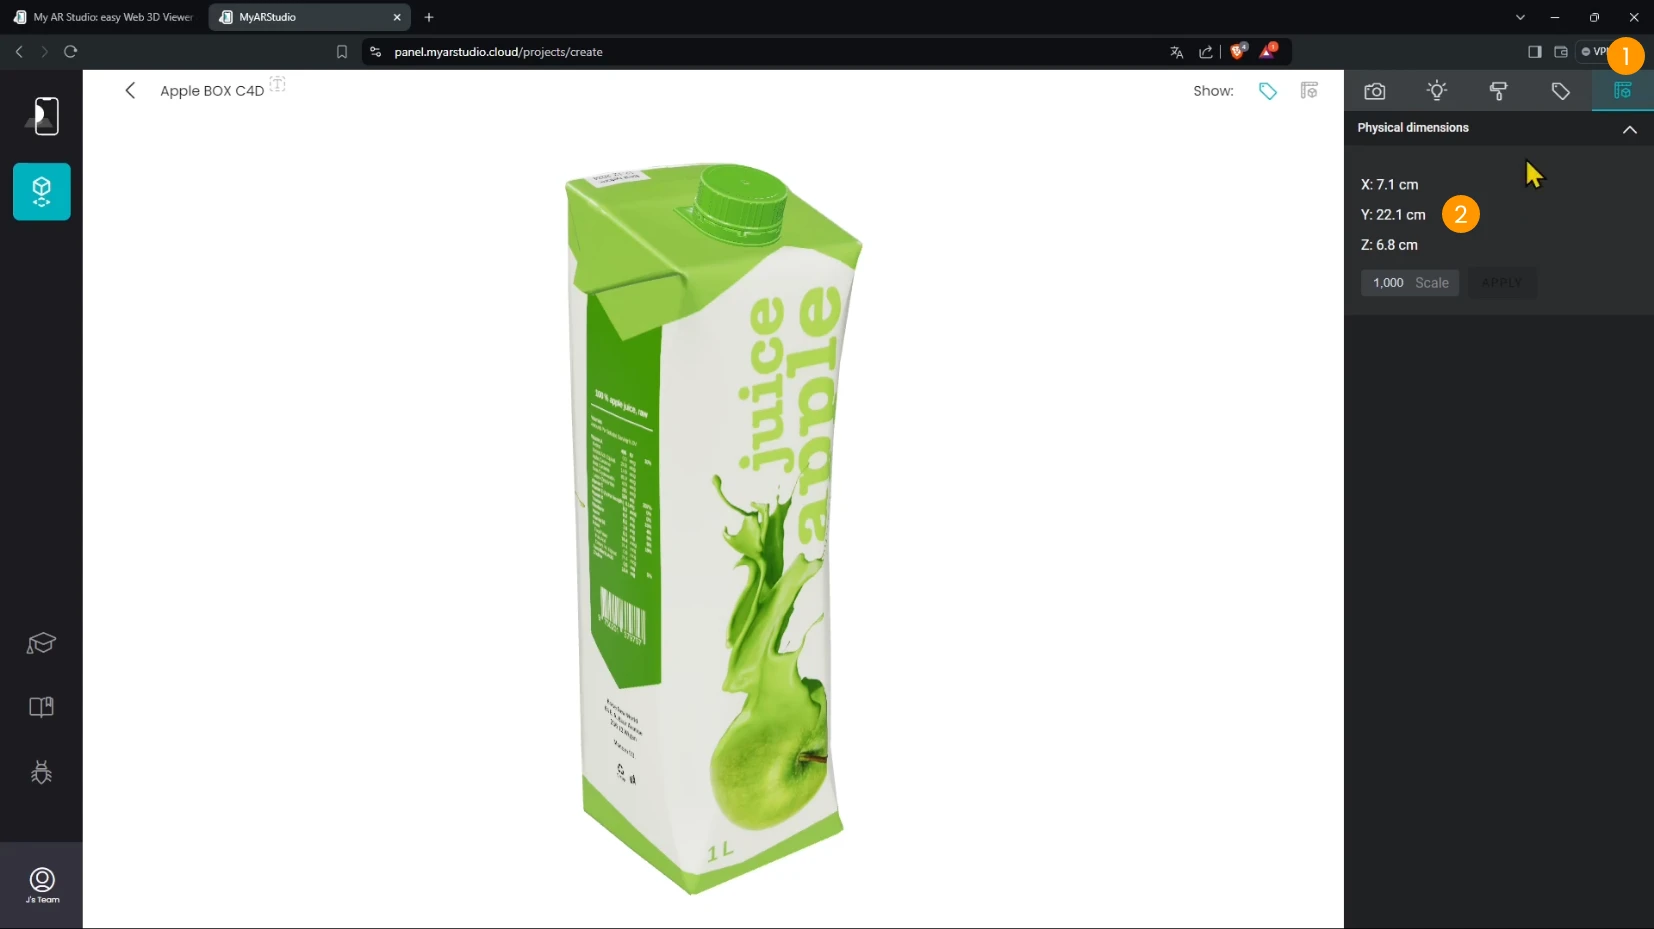
It's always a good idea to have a final check on the model spatial dimensions to ensure it will be displayed in the correct size in Augmented Reality.
- Click on the Dimensions tab 1
- Check the physical dimensions 2
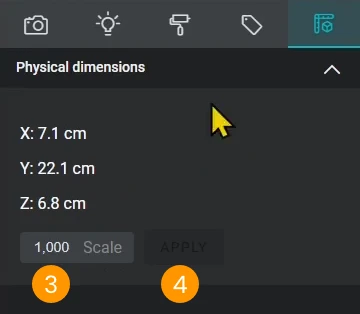
If you need to adjust the dimensions you can apply a scaling:
- enter the scale factor 3
- click the APPLY button 4
the model will be scaled and you will see the updated dimensions.
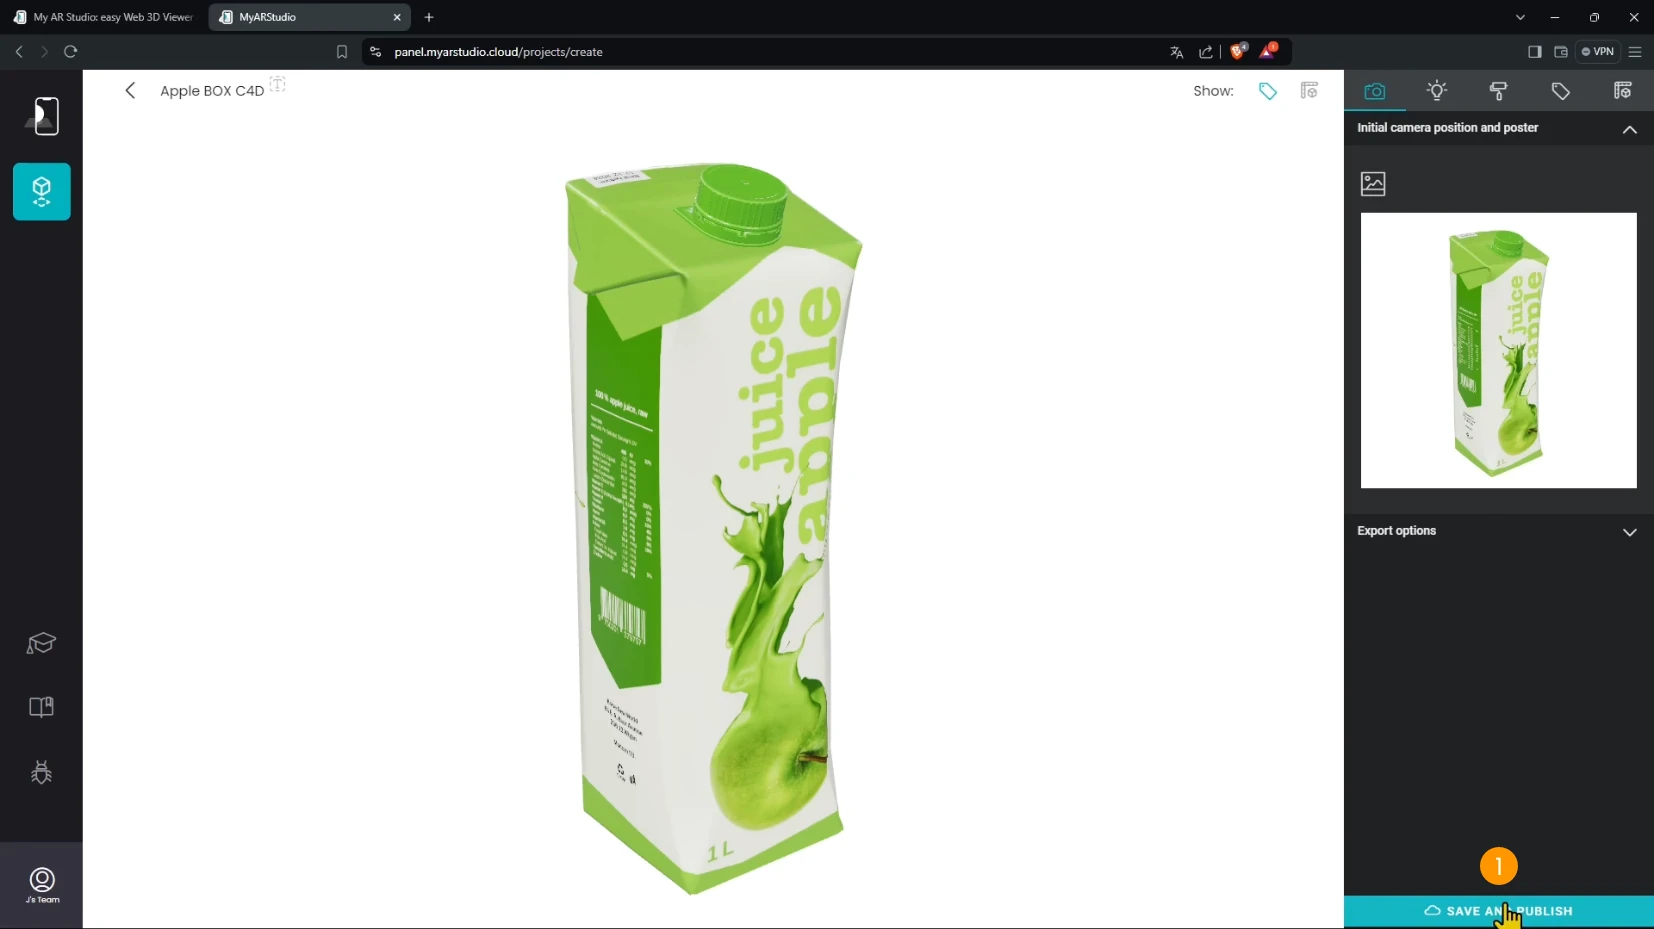
Publishing the AR Model
- Click Save and Publish 1 to prepare the model for web3D and AR.
Viewing the Model in AR
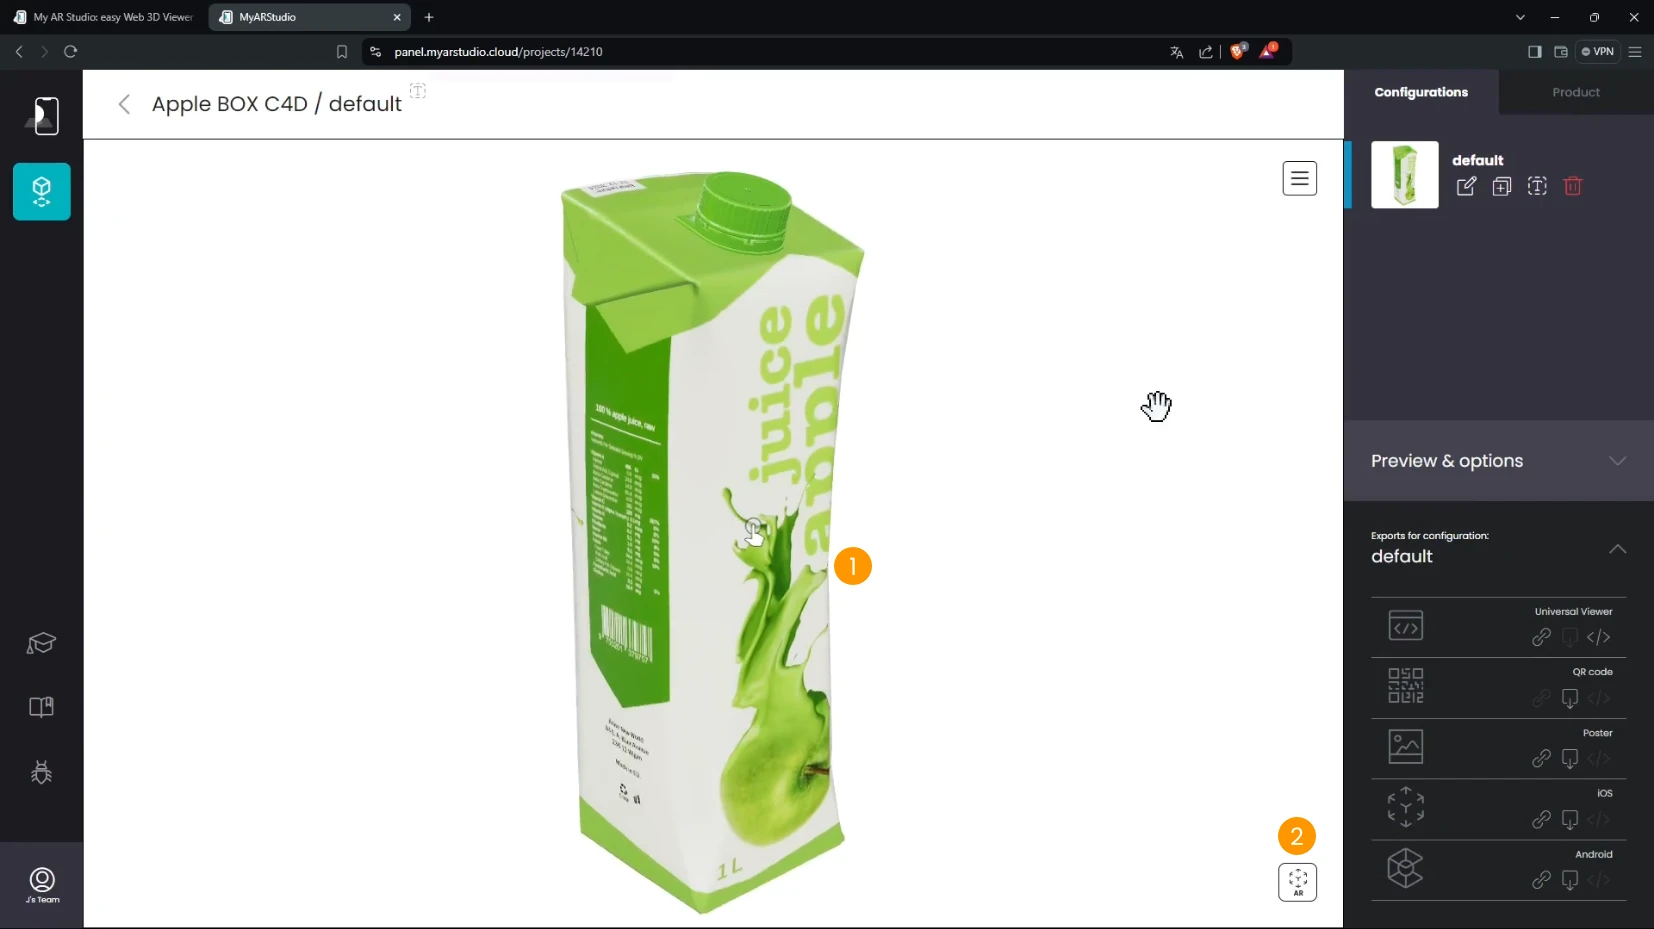
Once your model is processed you will find yourself in the Configurations page.
Here you can see your 3D model on your computer.
- In the central area you can see your 3D object and you can rotate it, zoom it and pan it 1
To view the model in AR:
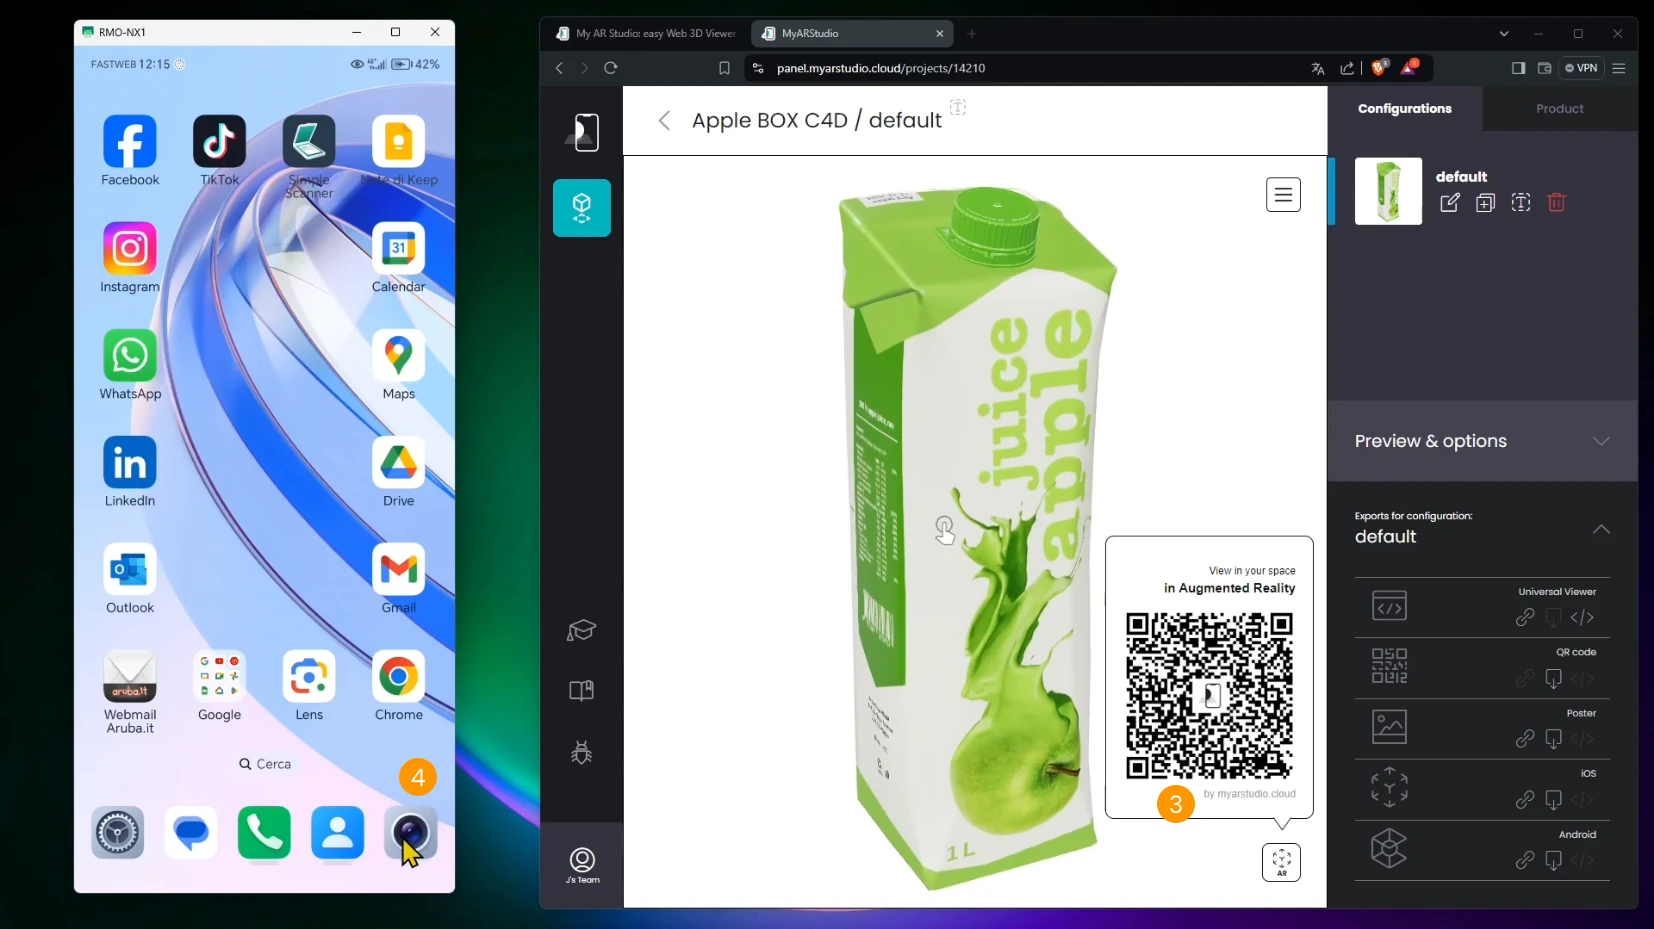
- Click the Action button in the bottom right corner 2
- A popup with a QR-code will appear 3
- Grab your phone and open the camera 4
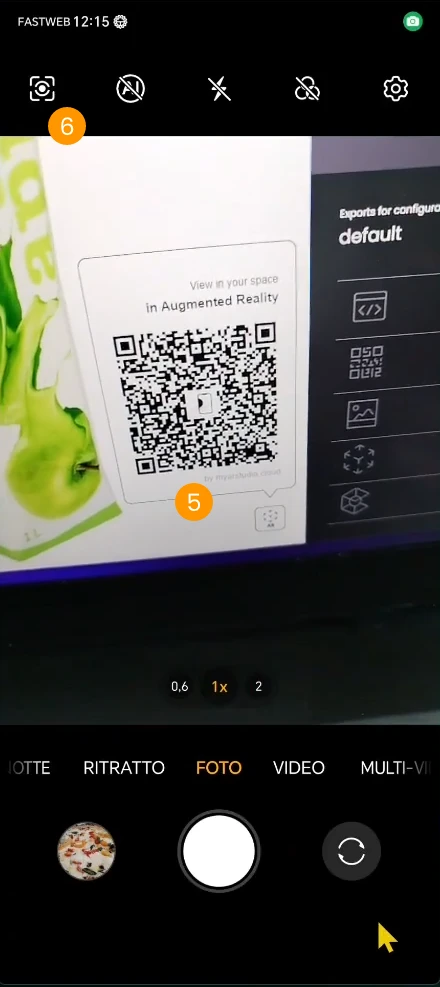
- Frame the QR-code with your smartphone's camera 5
- Depending on your smartphone you may have to tap a button to scan for a QR-code 6 or tap a badge to follow the recognized link
- Your smartphone will read the QR-code that contains a web link and open the browser on your product 3D viewer.
- Here you can rotate, zoom and pan like you did on your desktop computer 6
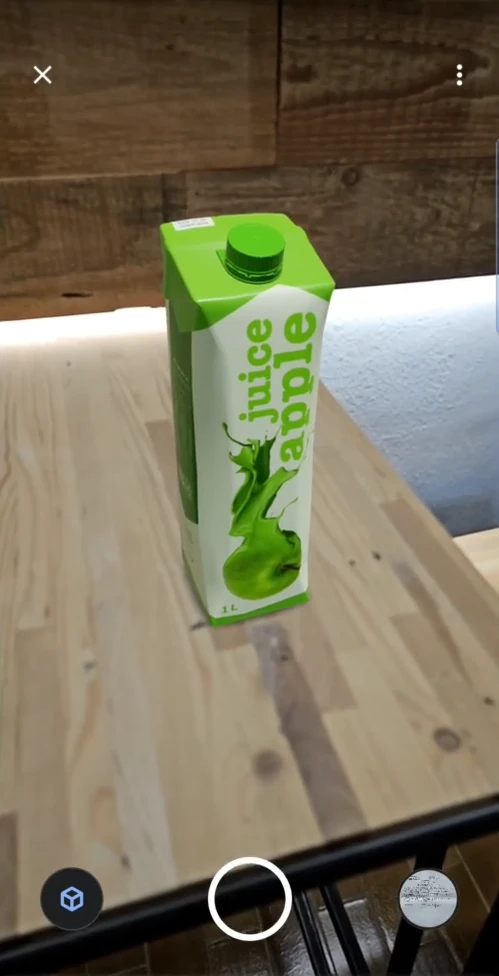
- Tap the Action button to enter Augmented Reality 7

- The camera will open. Frame a horizontal surface and move your phone horizontally to recognize the plane
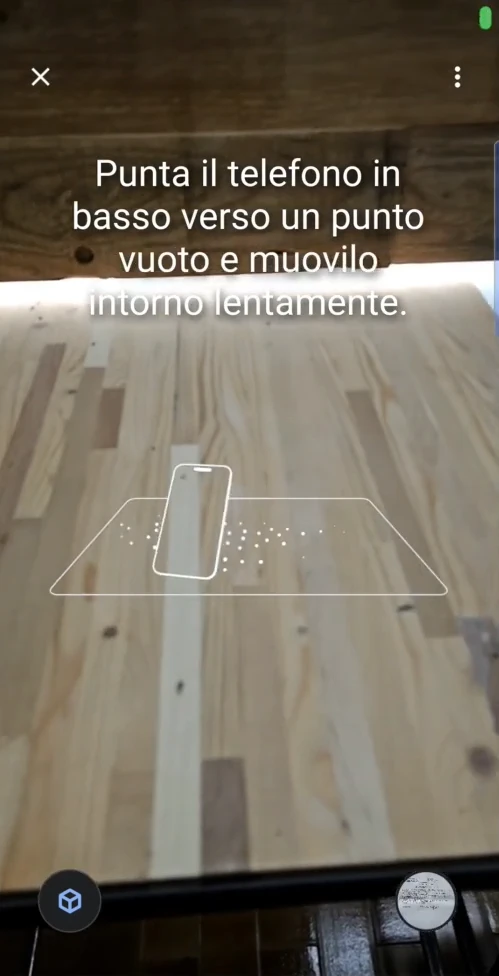
- Once the phone gathers enough data it places you 3D object anchored to the surface
You can:
- Move the object by dragging it with one finger.
- Rotate it with two fingers in a circular motion (like if you were rotating a knob).
- Resize it by pinching with two fingers.
Sharing Your 3D Model
In the configurations page you can find the deliverables of your 3D model to share it and embed it.
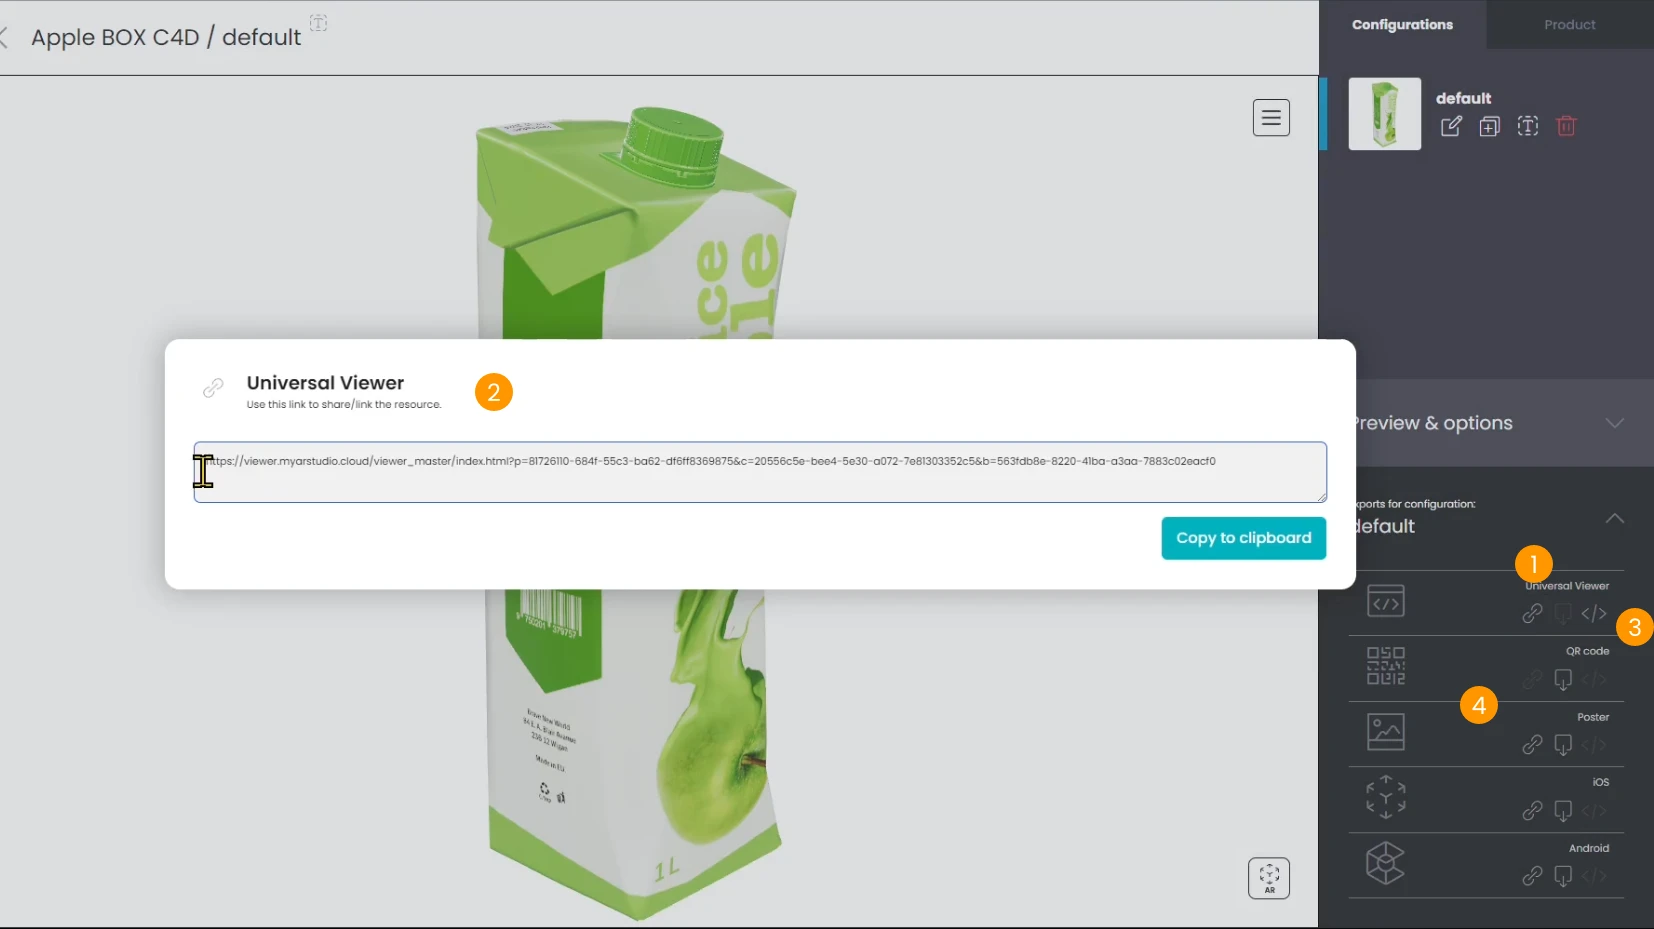
- Use the Universal Viewer link to share it directly
- Click on the link icon 1
- A popup will appear showing the link to the viewer that you can copy 2
-
Click on the embed code icon 3 to get the HTML snippet to embed the 3D web + AR viewer on a website
-
You will find other deliverables like QR-Code, Preview image, export for Android and iOS 4
Click here for more details on the Configurations page and on the Editor page.
