Quick Materials in My AR Studio
My AR Studio contains a simple material editor with which you can quickly change the appearance of the loaded model. It can be used both with textured models (eg exported from Substance Painter) and to create materials from scratch on "naked" models.
Even if without textures, the materials thus created are still PBR-based and offer a photorealistic appearance. They also have other advantages:
- the setup is very fast and is continuously modifiable
- loading times are faster, because we avoid the weight of the textures
- models do not need a UV map (shortening processing times)
In this tutorial we will see the various stages for the setup and publication of the model of a 4-cylinder engine.
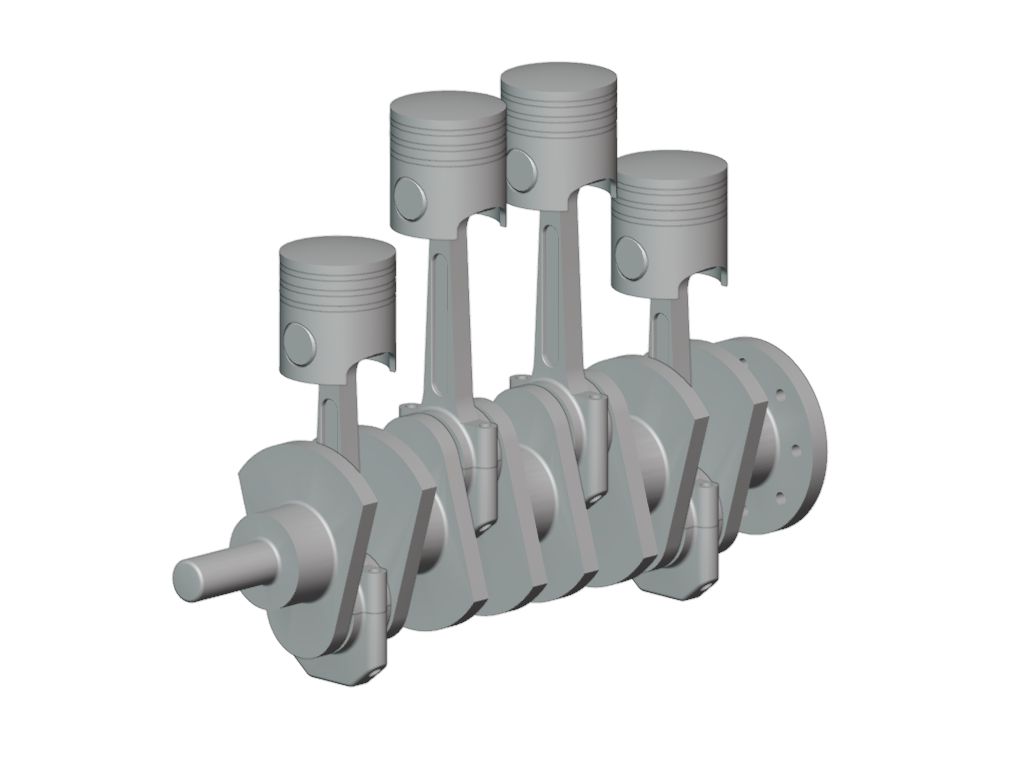
Prepare the Model
The first step consists in preparing the model, in any 3D software, assigning the corresponding material to the various parts. At this stage it is not important that the material properties are defined (color, glossiness, etc), we will take care of this once the model is loaded into My AR Studio.
Instead, it is important to make sure that each object that makes up the model uses only one material. If an object uses more than one material, separate it into independent objects each with only one material. However, it is possible to use the same material on several objects.
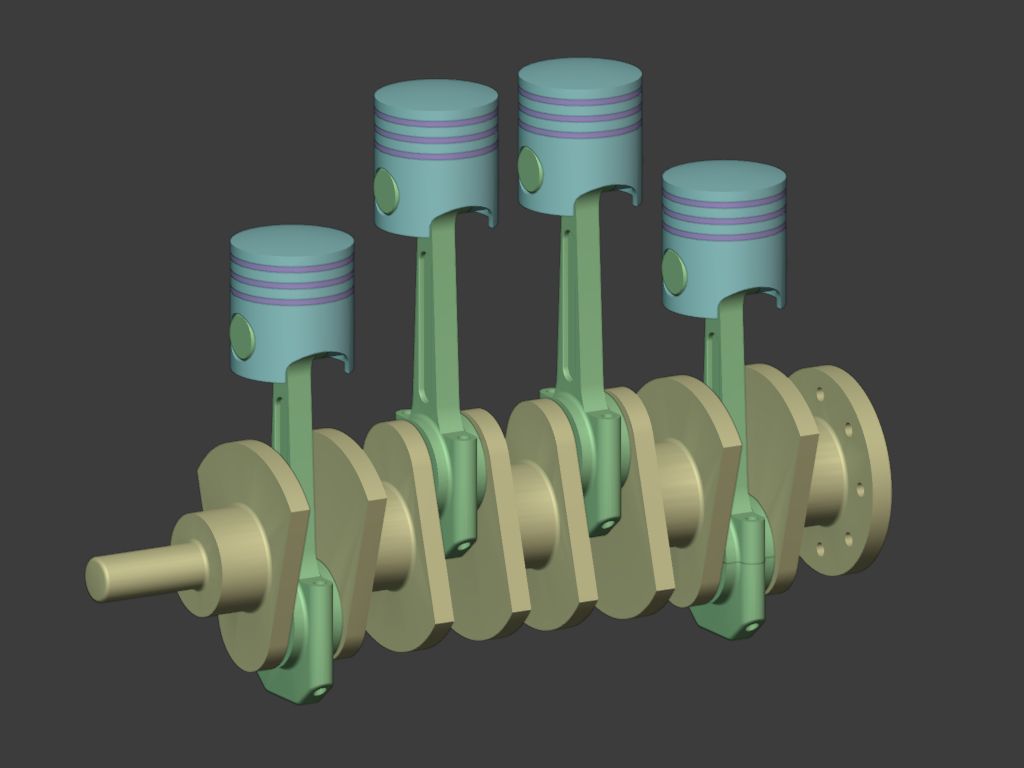
We then separated our engine into different objects and assigned each one the corresponding material. We have also renamed the materials to make our work easier later. They are:
- piston: the piston heads
- ring: the piston rings
- rod: the connecting rods
- camshaft: the camshaft
At this point all that remains is to export the GLB and load it into My AR Studio. For details on the loading procedure, refer to this page. If you want to practice while following this tutorial, you can download the engine model from here.
Materials Setup
Now that we've loaded the model into My AR Studio we're going to set up its materials. During the tutorial for each one we will introduce a new property so that the final result will give an idea of the variety of materials obtainable and their appearance.
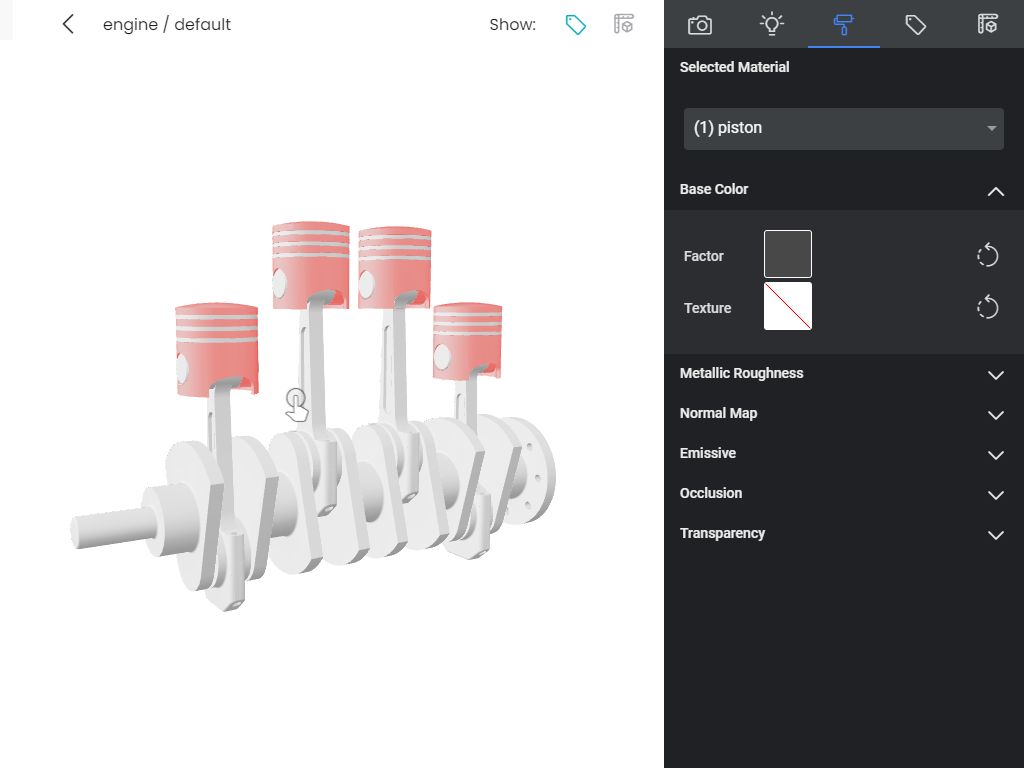
We go to the materials tab and from the drop-down menu we choose the material of the piston heads. In the 3d window the heads will glow red for one second, indicating which objects of the model use the selected material. If the heads have not been colored or if a different part has been colored, you will need to check the original model and export a new GLB to load in My AR Studio.
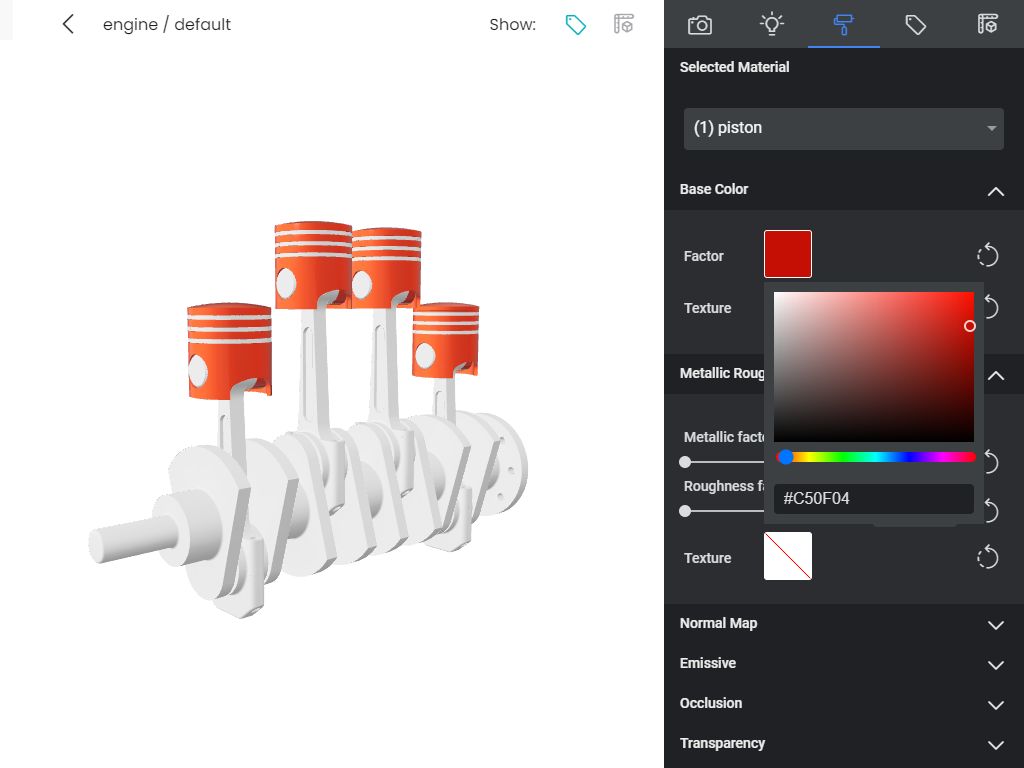
In the Base Color panel we set the Factor to a reddish orange (#C50F04), this will make the pistons very noticeable. The Texture field is used to assign a texture as the color of the material but, since the GLB file does not contain any, the selection menu will be empty. For the same reason we will not cover the Normal Map and Occlusion properties. In the Metallic Roughness panel we leave Metallic factor at 0 and set Roughness factor to 0 as well. It will turn out a smooth material that resembles glossy plastic.
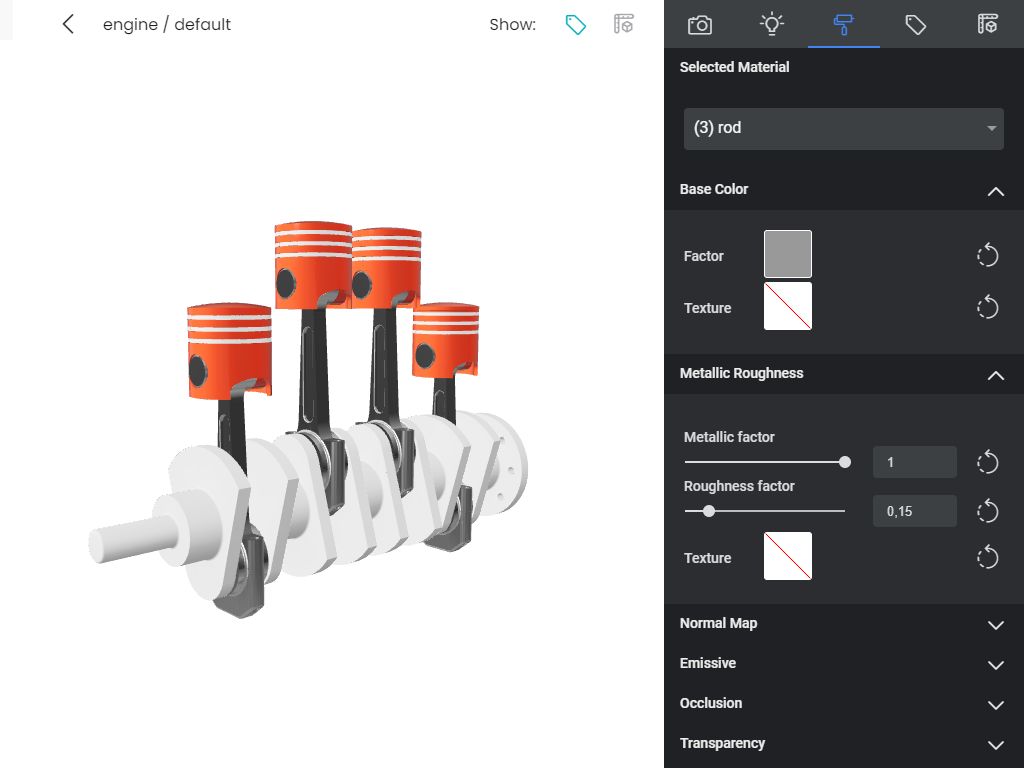
From the drop-down menu we choose the rod material. We set as Base Color a medium gray (#999999), Roughness at 0.15 and Metallic factor at maximum. It will result a slightly rough metal, if you prefer a chrome effect lower the Roughness level to 0. Metallic materials greatly enhance the environmental reflections, you can see this by comparing it with the material of the pistons.
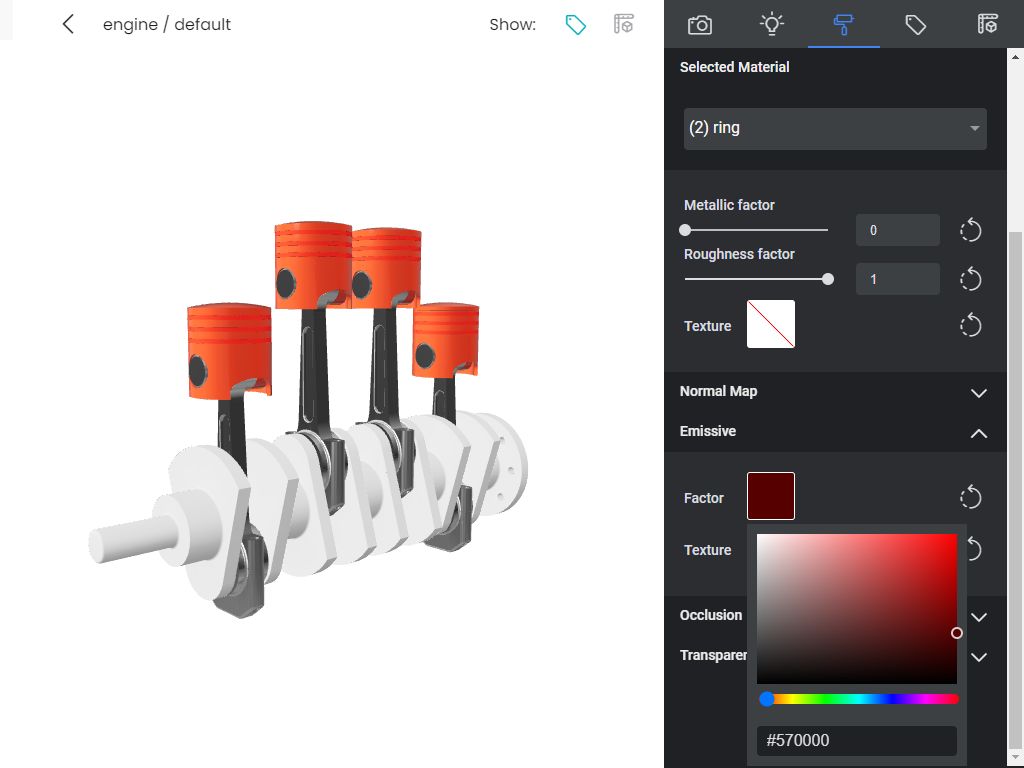
From the drop-down menu we choose the material of the piston rings. We set the color to a fairly dark red (#750400), leave Metallic at 0 and turn Roughness up to the maximum. It will turn out a material with soft shades. In the Emissive panel we set as Factor a dark red color (#570000) and the rings will light up. The effect will become more noticeable later when we will change the lighting of the scene.
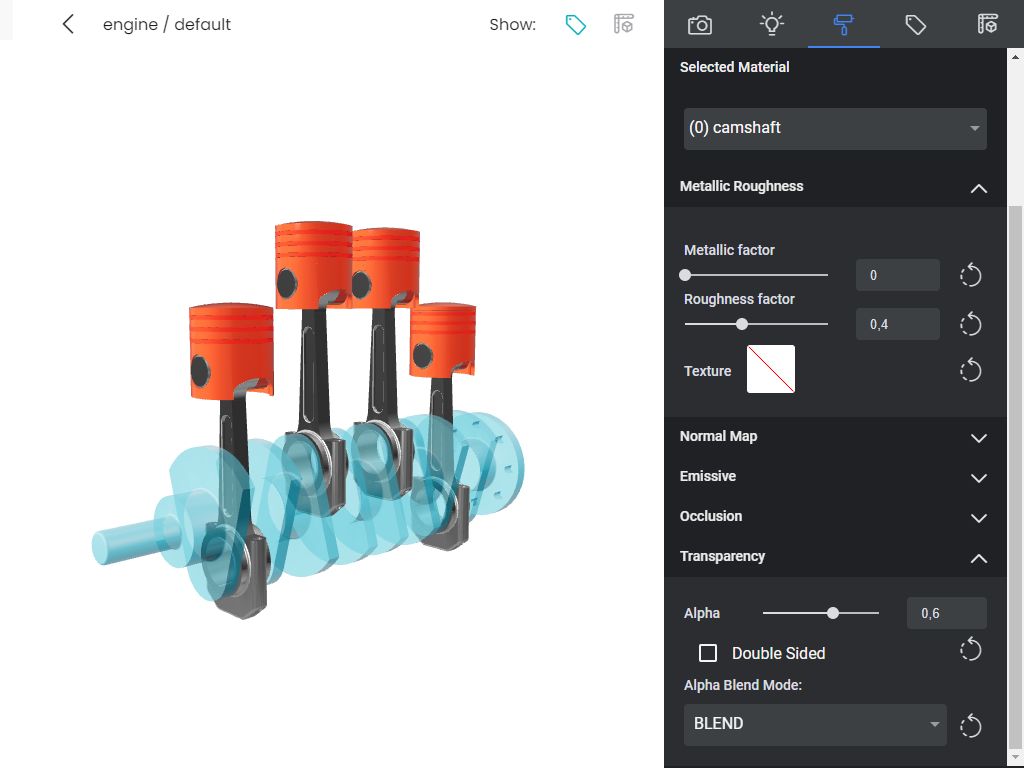
From the menu we choose the last material, that of the camshaft. We set a blue Base Color (#005983) with Metallic at 0 and Roughness at 0.4. We leave Emissive at 0 and open the Transparency panel. We lower the Alpha value to 0.6 to make the material transparent, but nothing seems to be happening. This is because the Alpha Blend Mode is set to OPAQUE, so we choose the BLEND setting from menu to activate the transparency. The MASK setting only applies if the material uses a transparency texture, in our case it is useless. Finally we deactivate Double Sided to avoid rendering the faces on the opposite side of the model.
Last Touches
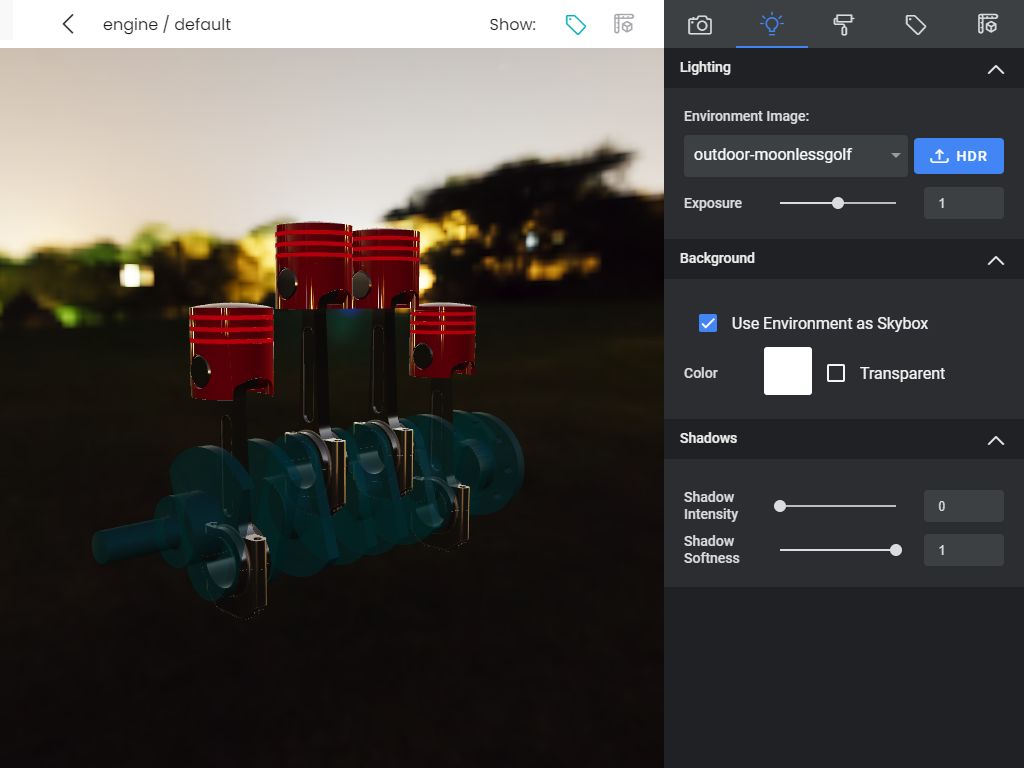
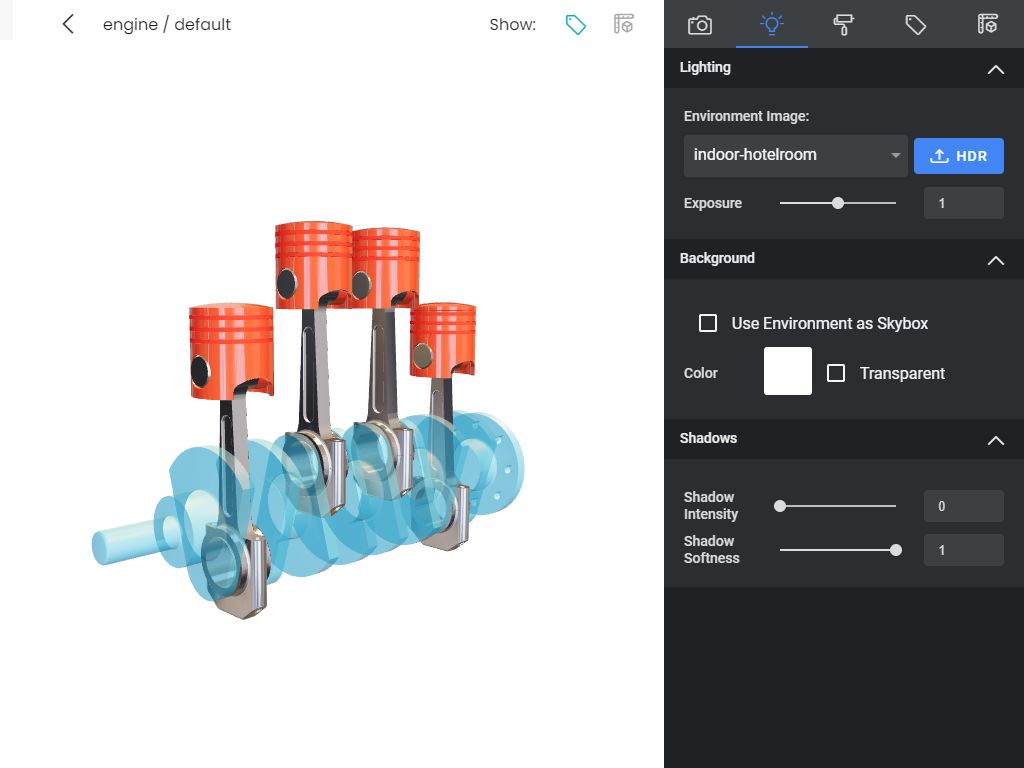
Let's move on to the lighting tab. In the Lighting panel from the Environment Image menu we try different HDRs and in the end we choose "indoor-hotelroom". If the result does not fully satisfy us, we can vary the camera exposure with the Exposure parameter or load an HDR file with the corresponding button. By activating Use Environment as Skybox from the Background panel we will be able to get an idea of how the materials adapt to different environments. Please note that these controls only affect the rendering of the model in the 3D viewer, while viewing it in AR the lighting will be based on the real environmental conditions of the user.
Once the setup is finalized, all that remains to do is to publish the model. For detailed instructions refer to this documentation. After publication you will be able to distribute your model as in the viewer below.