Split object surfaces
Activating the command
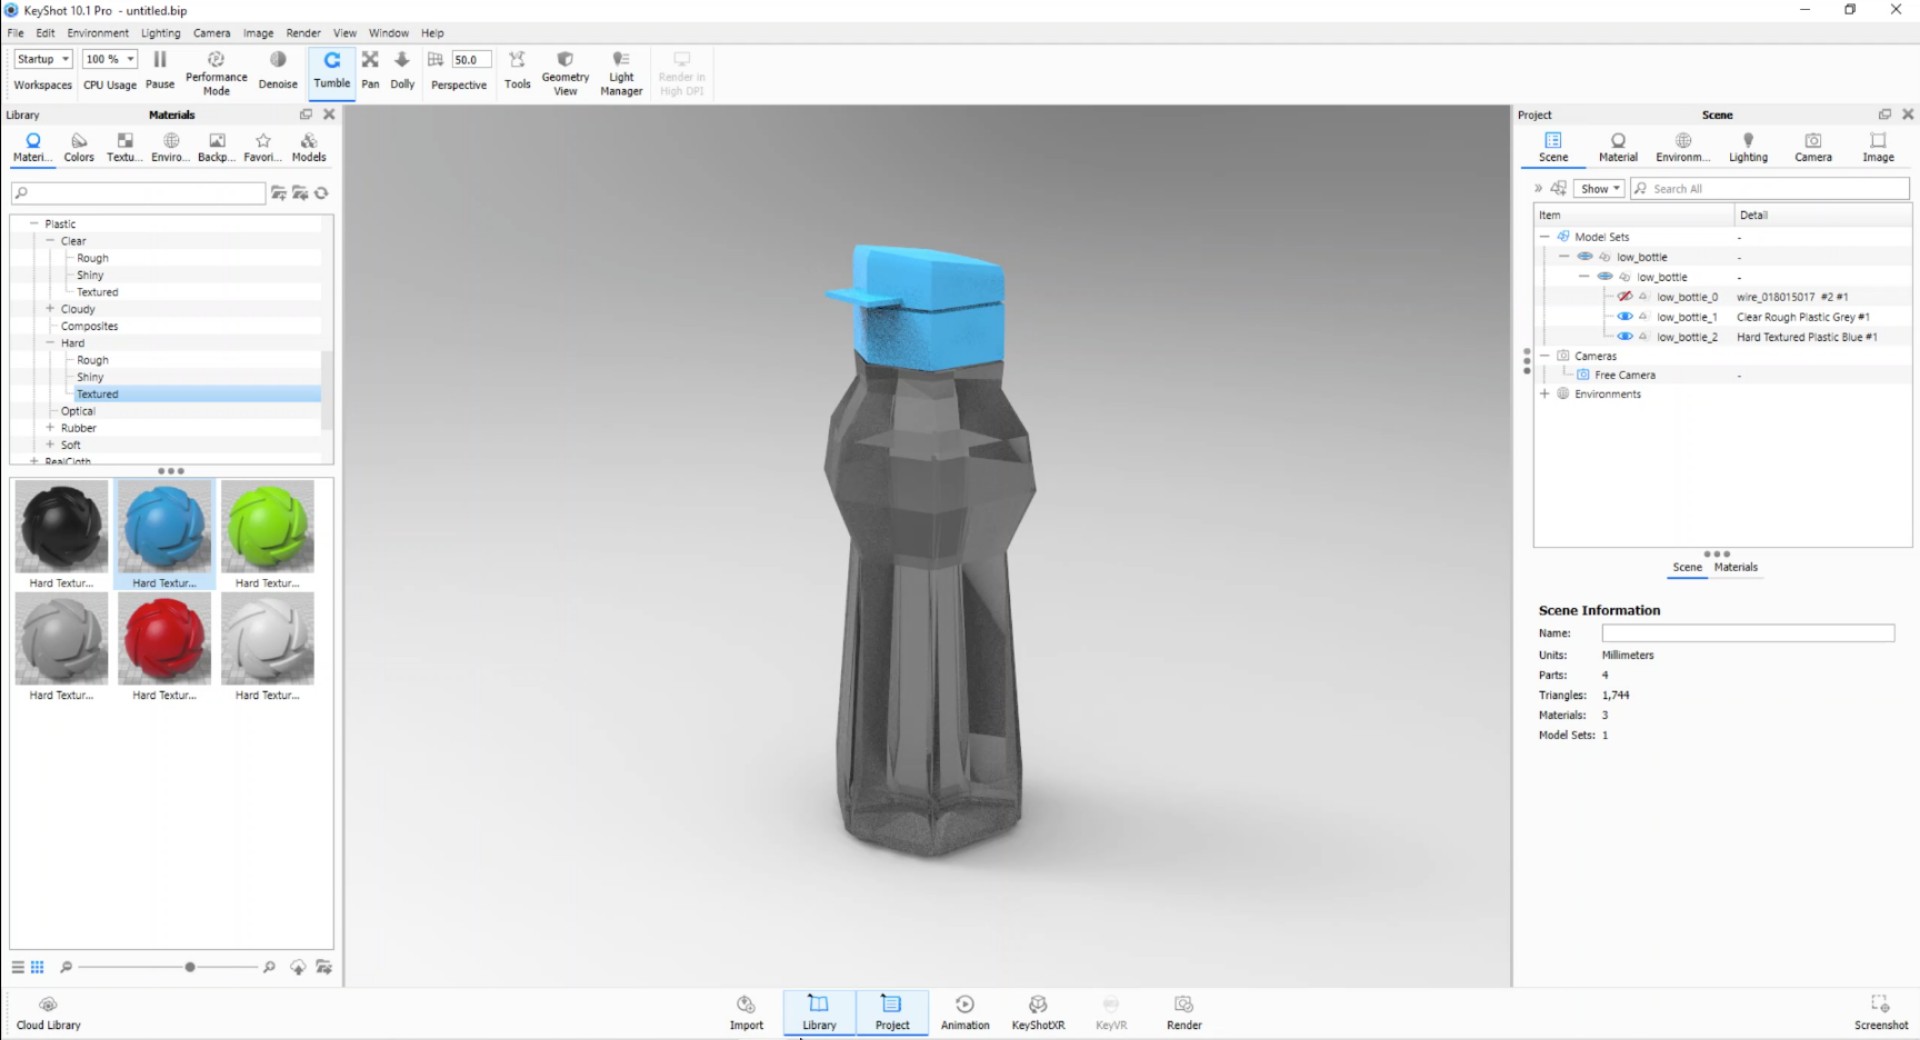
We will use the "split object surfaces" tool that allows you to divide a body into several parts. The following images show the model we are using in this example: its main feature is that it's a single body.
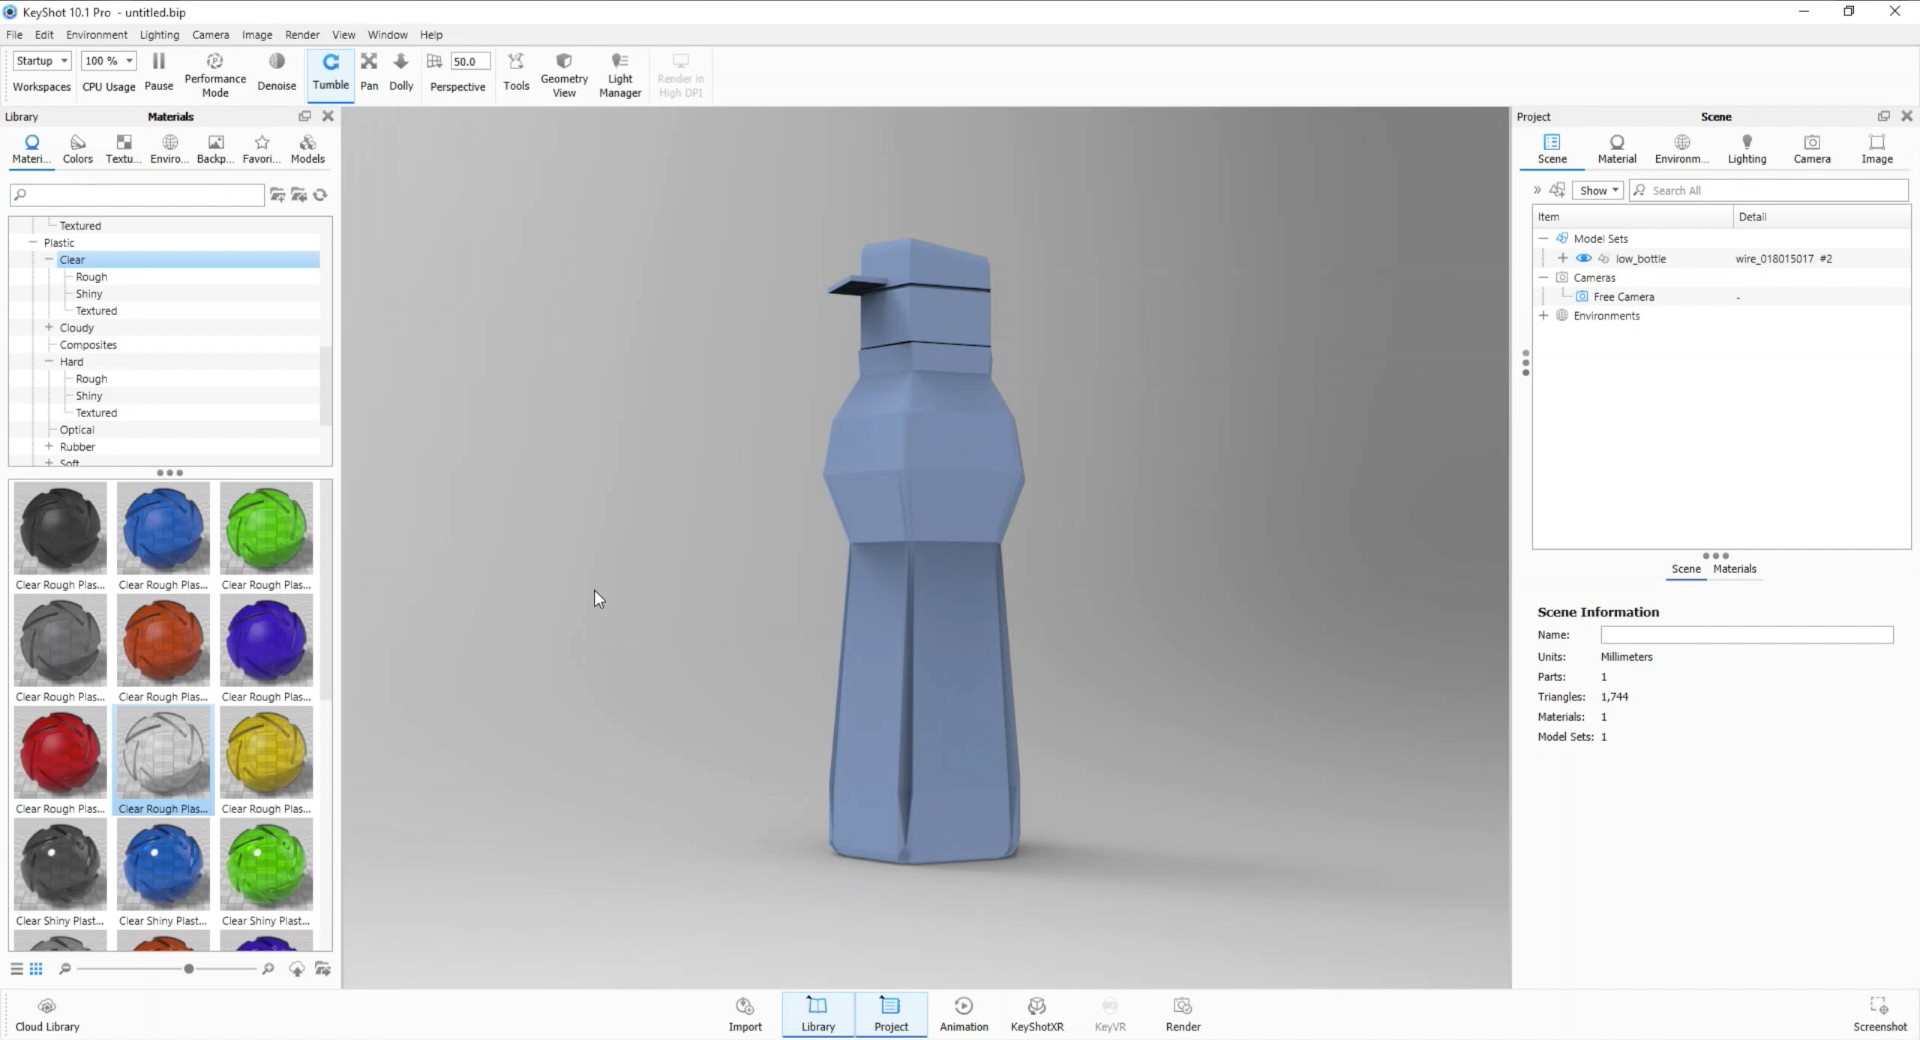
By assigning a material to the bottle, the cap will also take it and vice versa, because it is a single body.
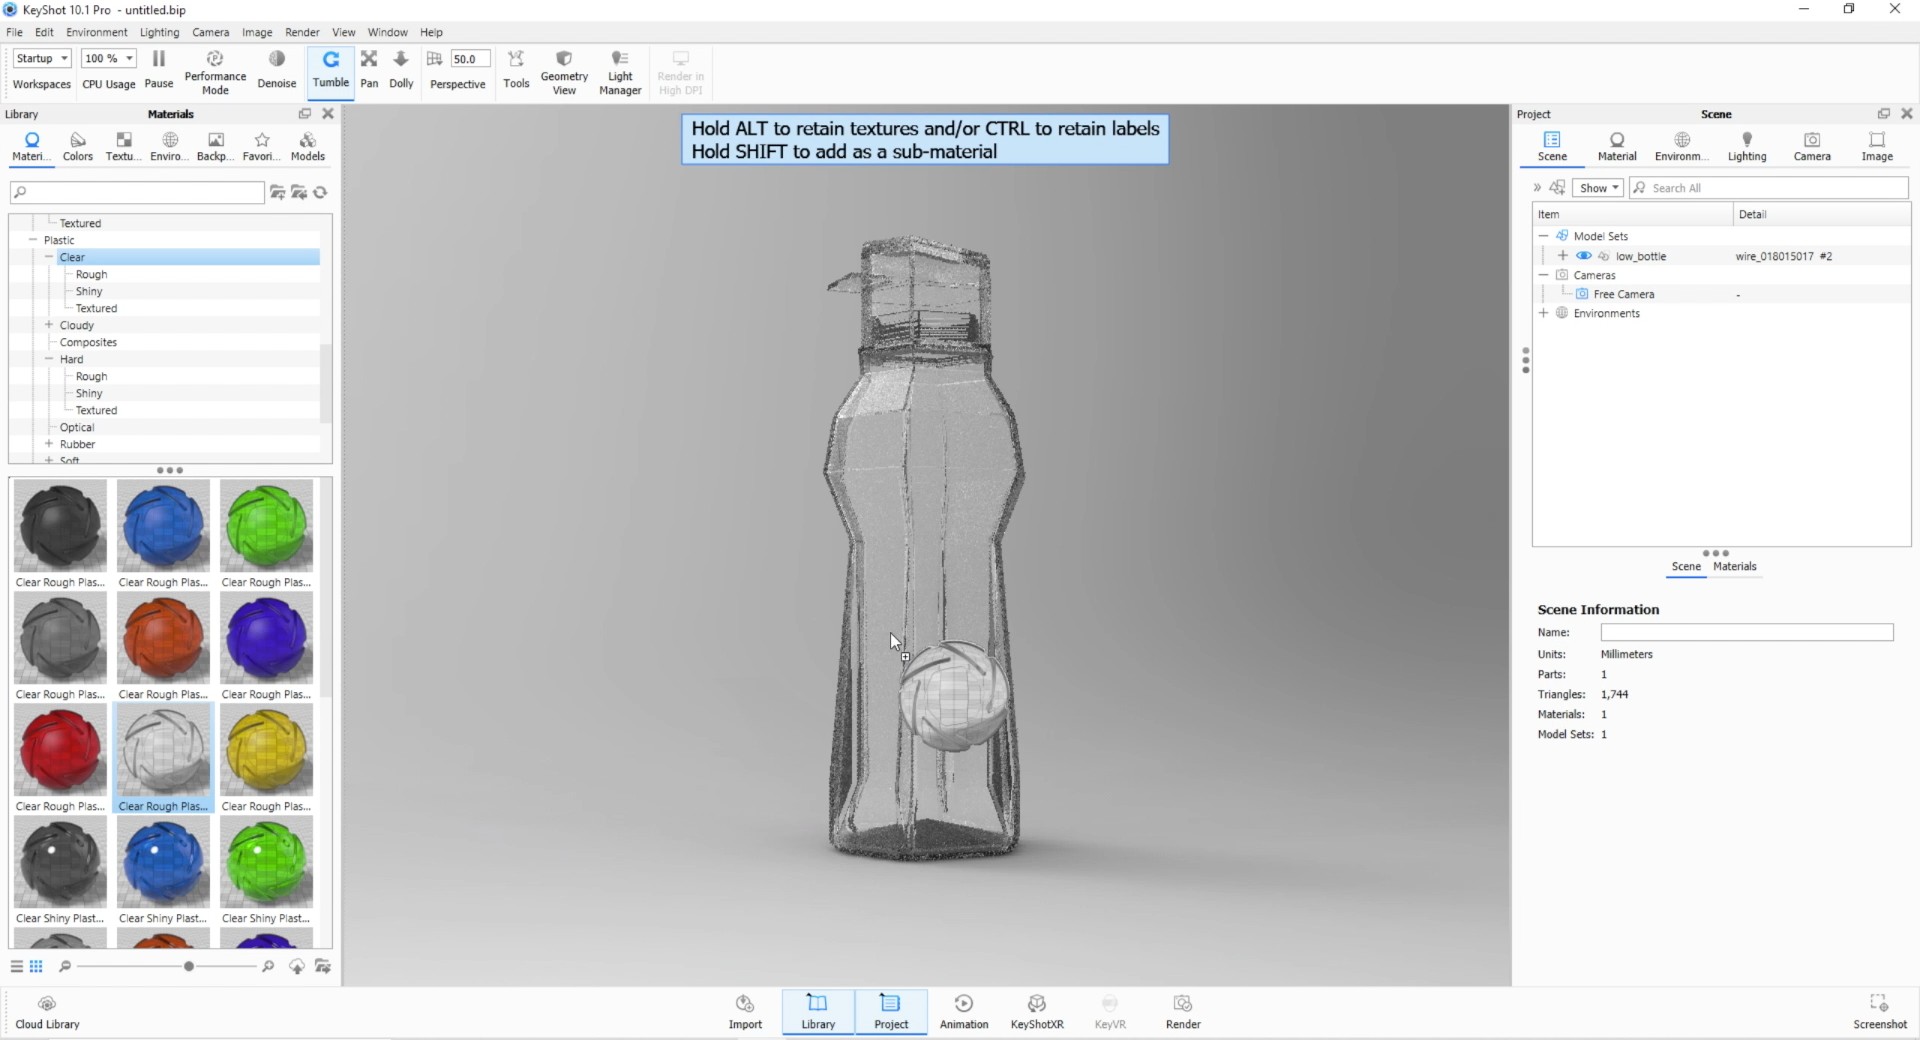
Let's see together how to divide these two elements.
Let's go to tools, select "Split object surfaces" 1,
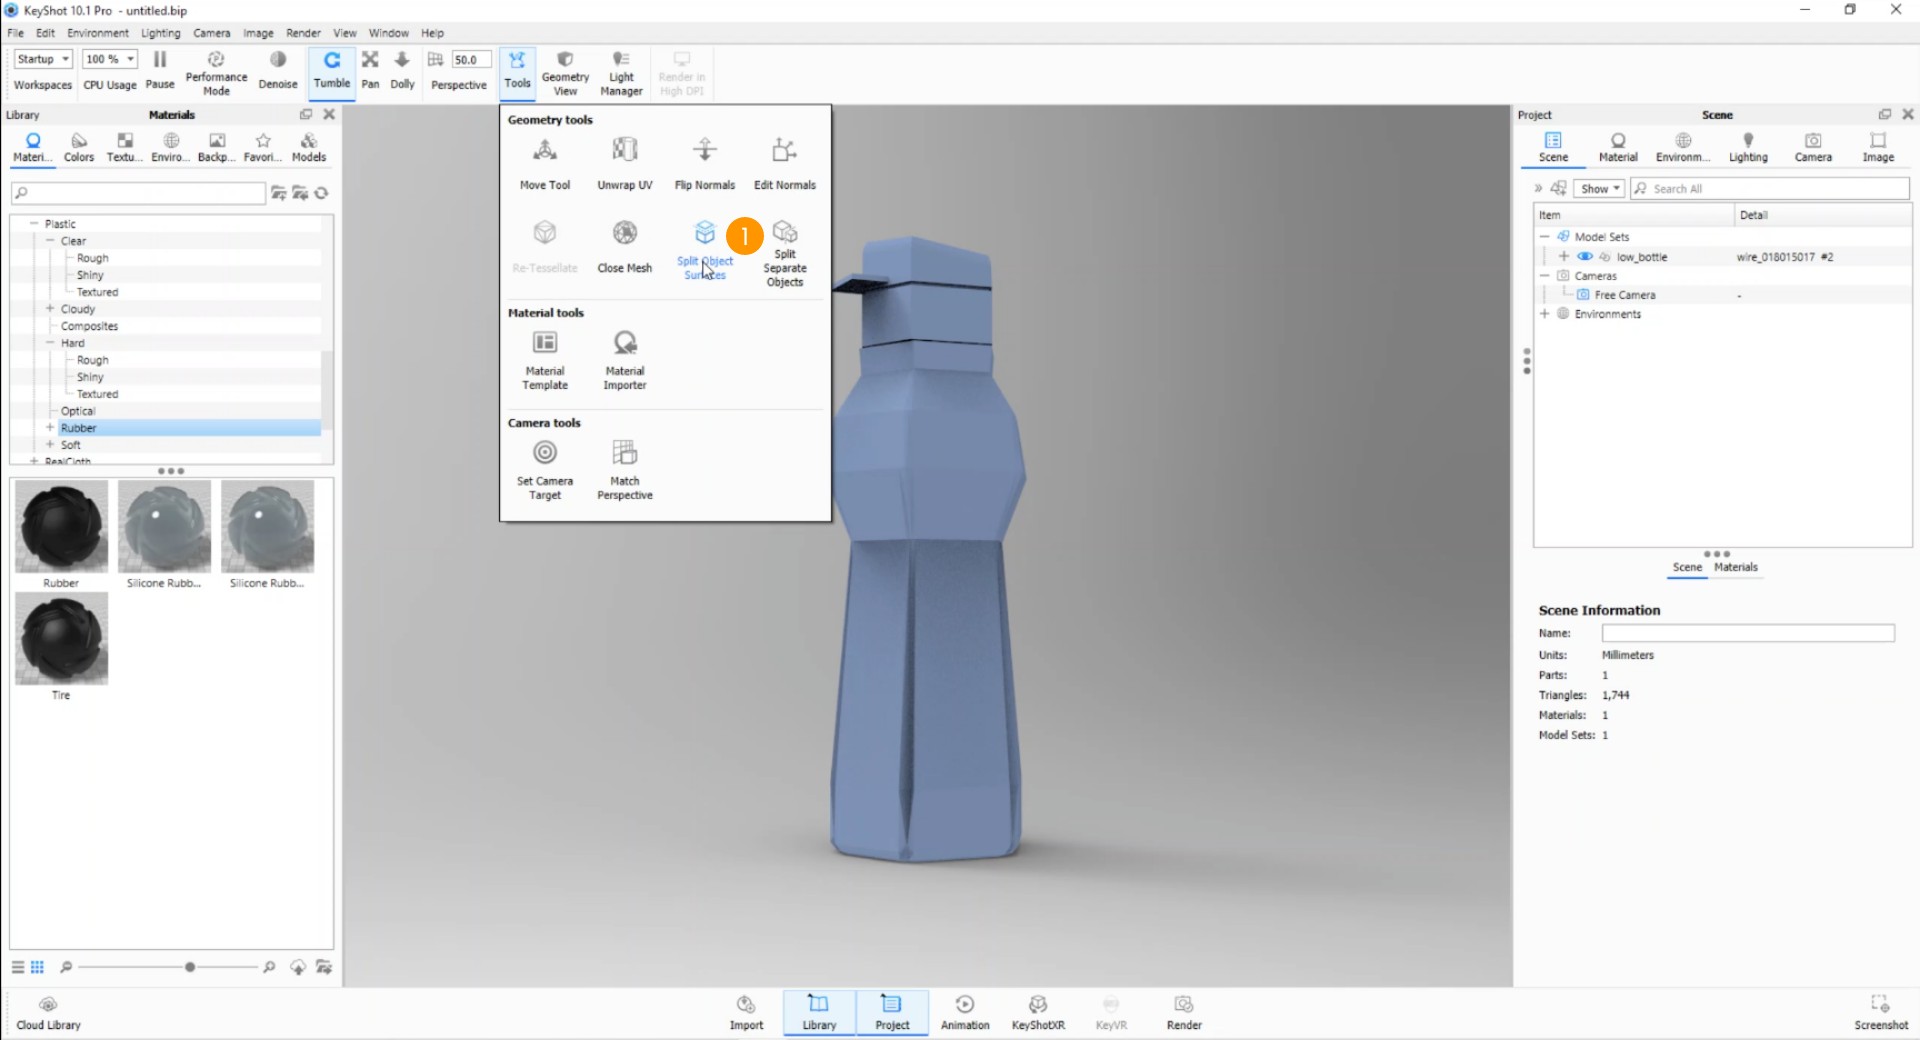
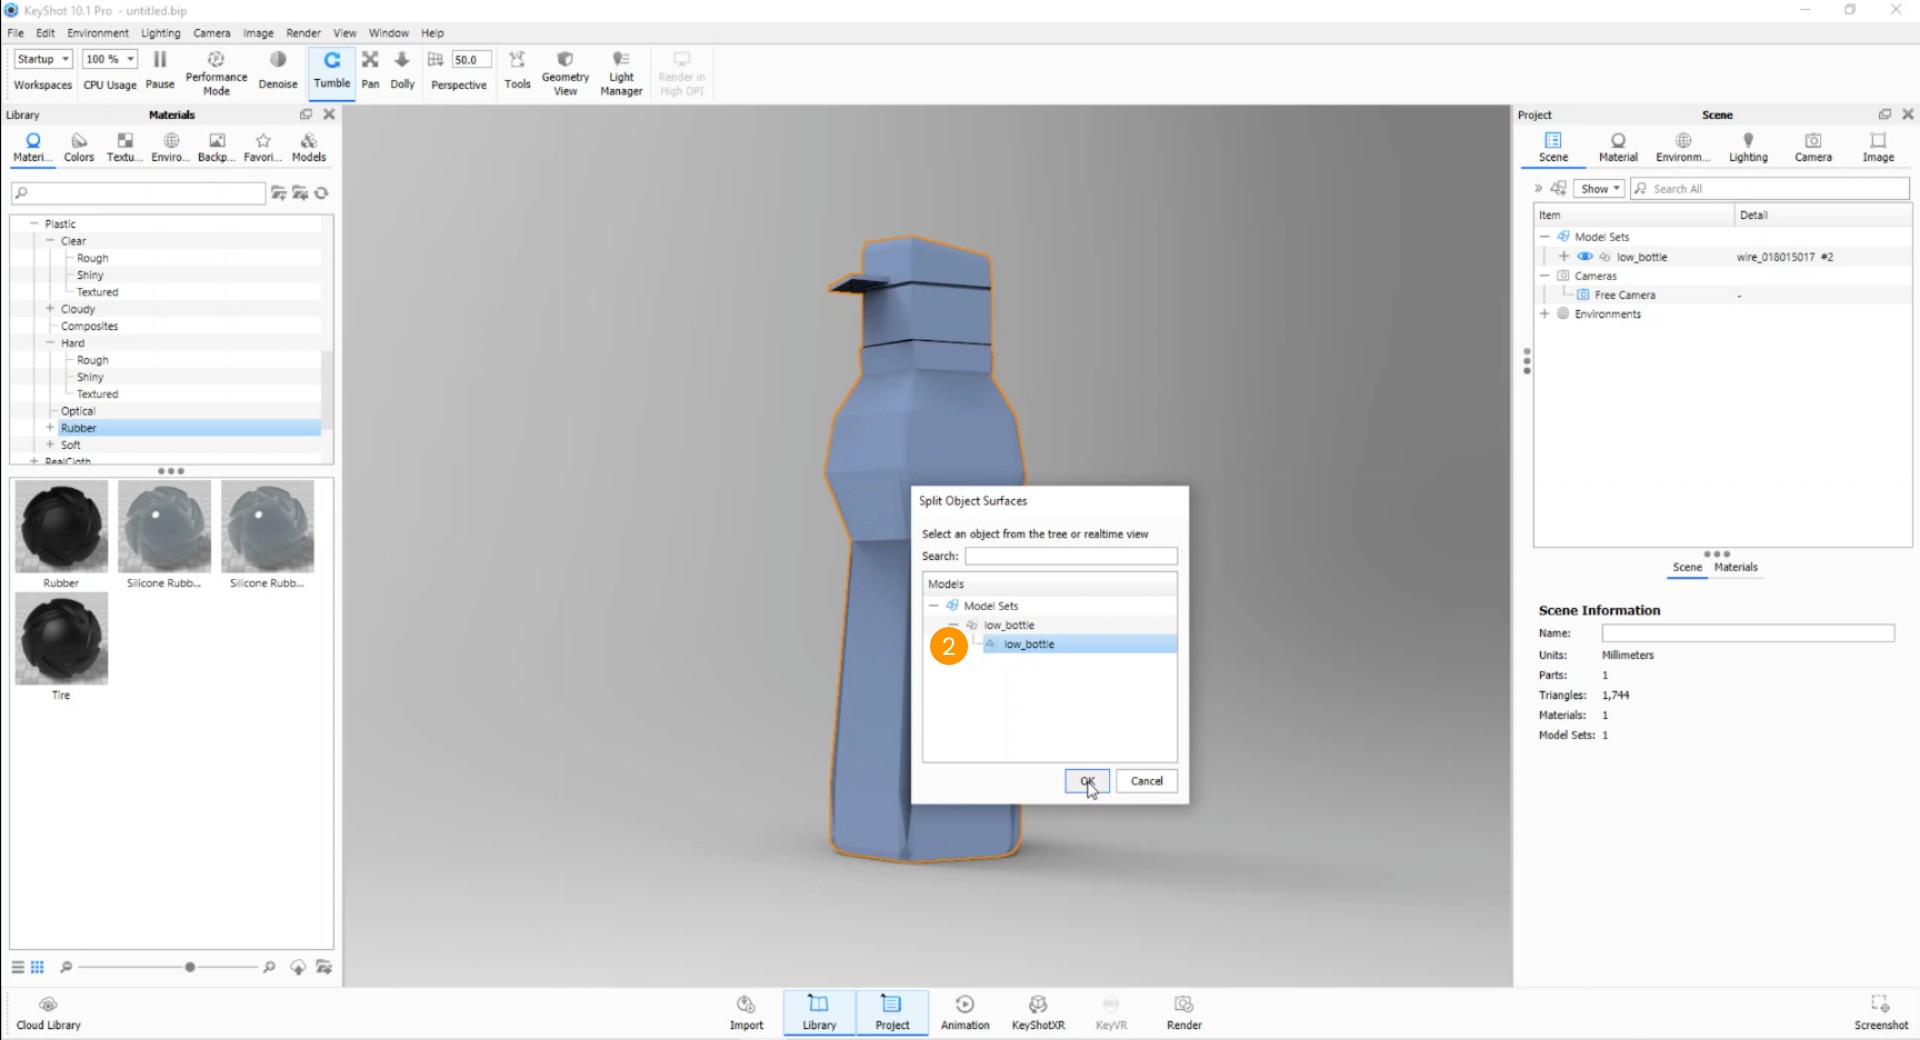
We select the model and press ok 2.
Select the surfaces and separate them
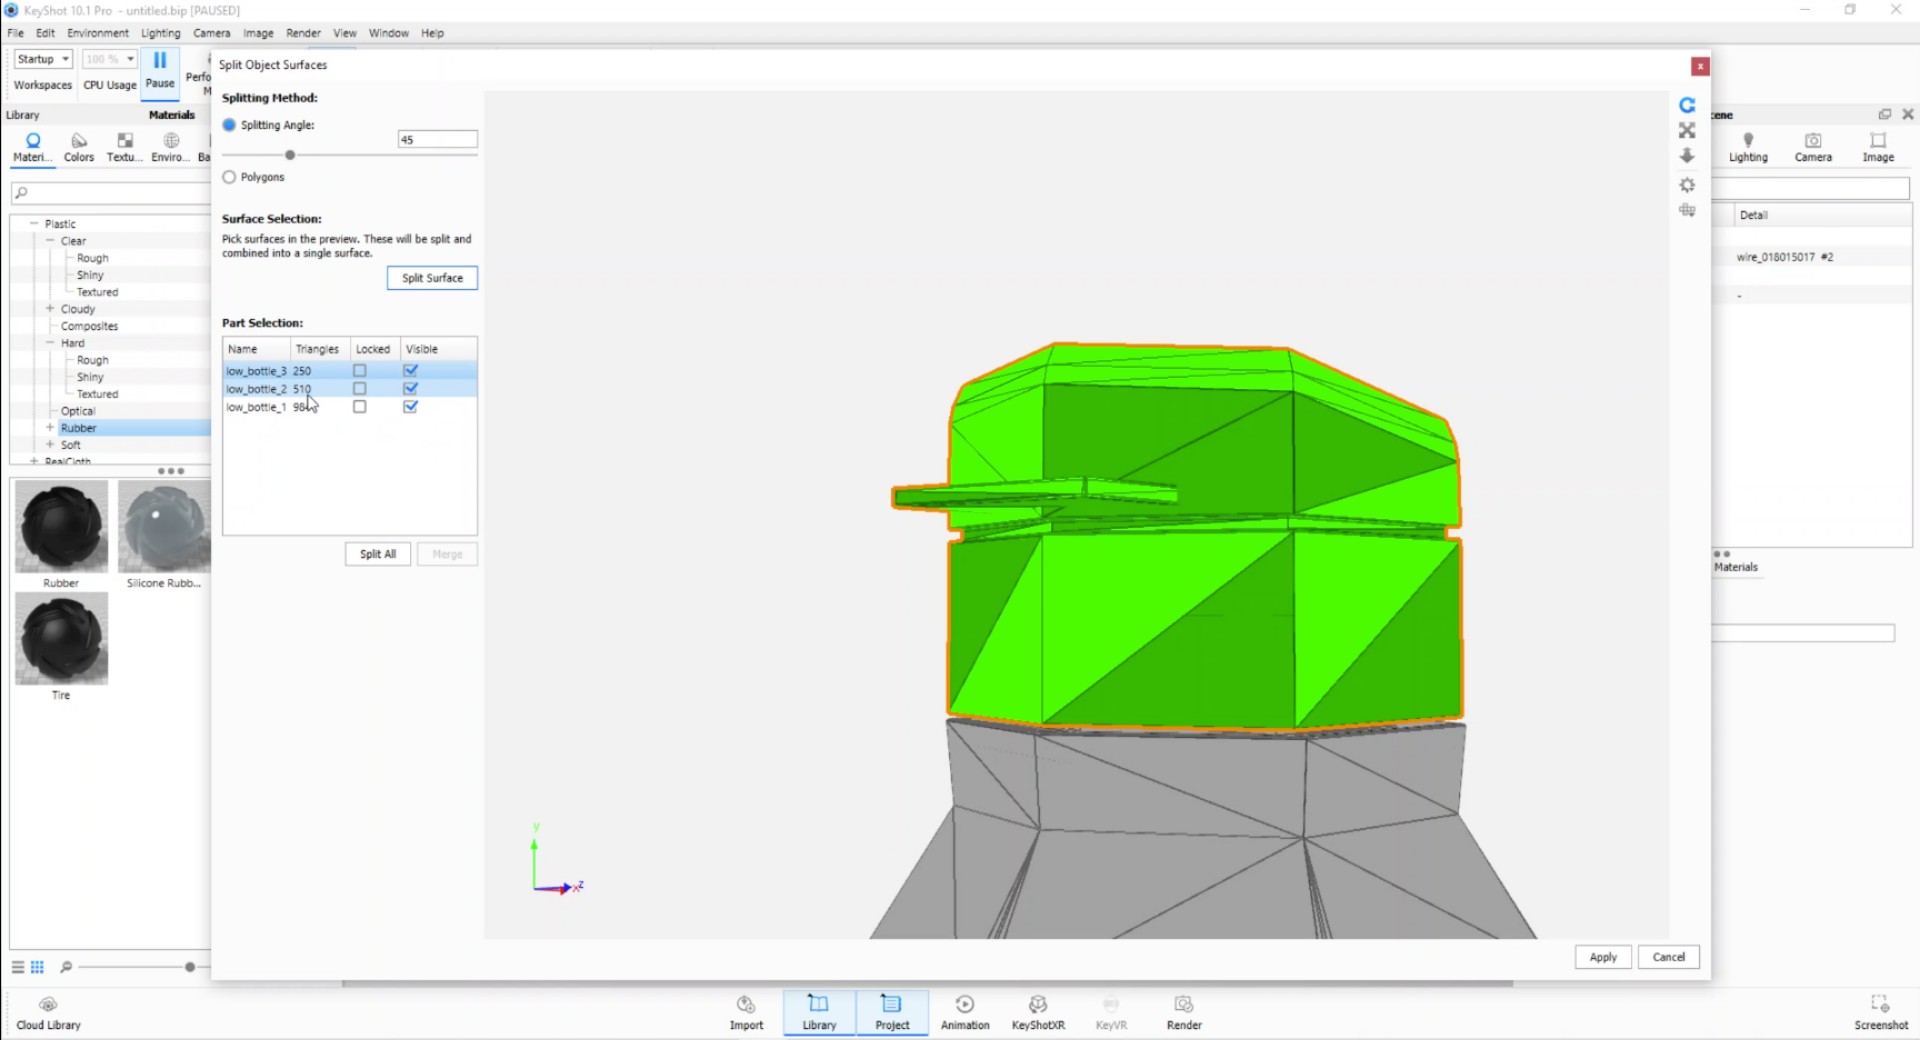
Once the pop-up window is open we see our 3D model divided in polygons.
It is possible to select the faces of our object using two methods:
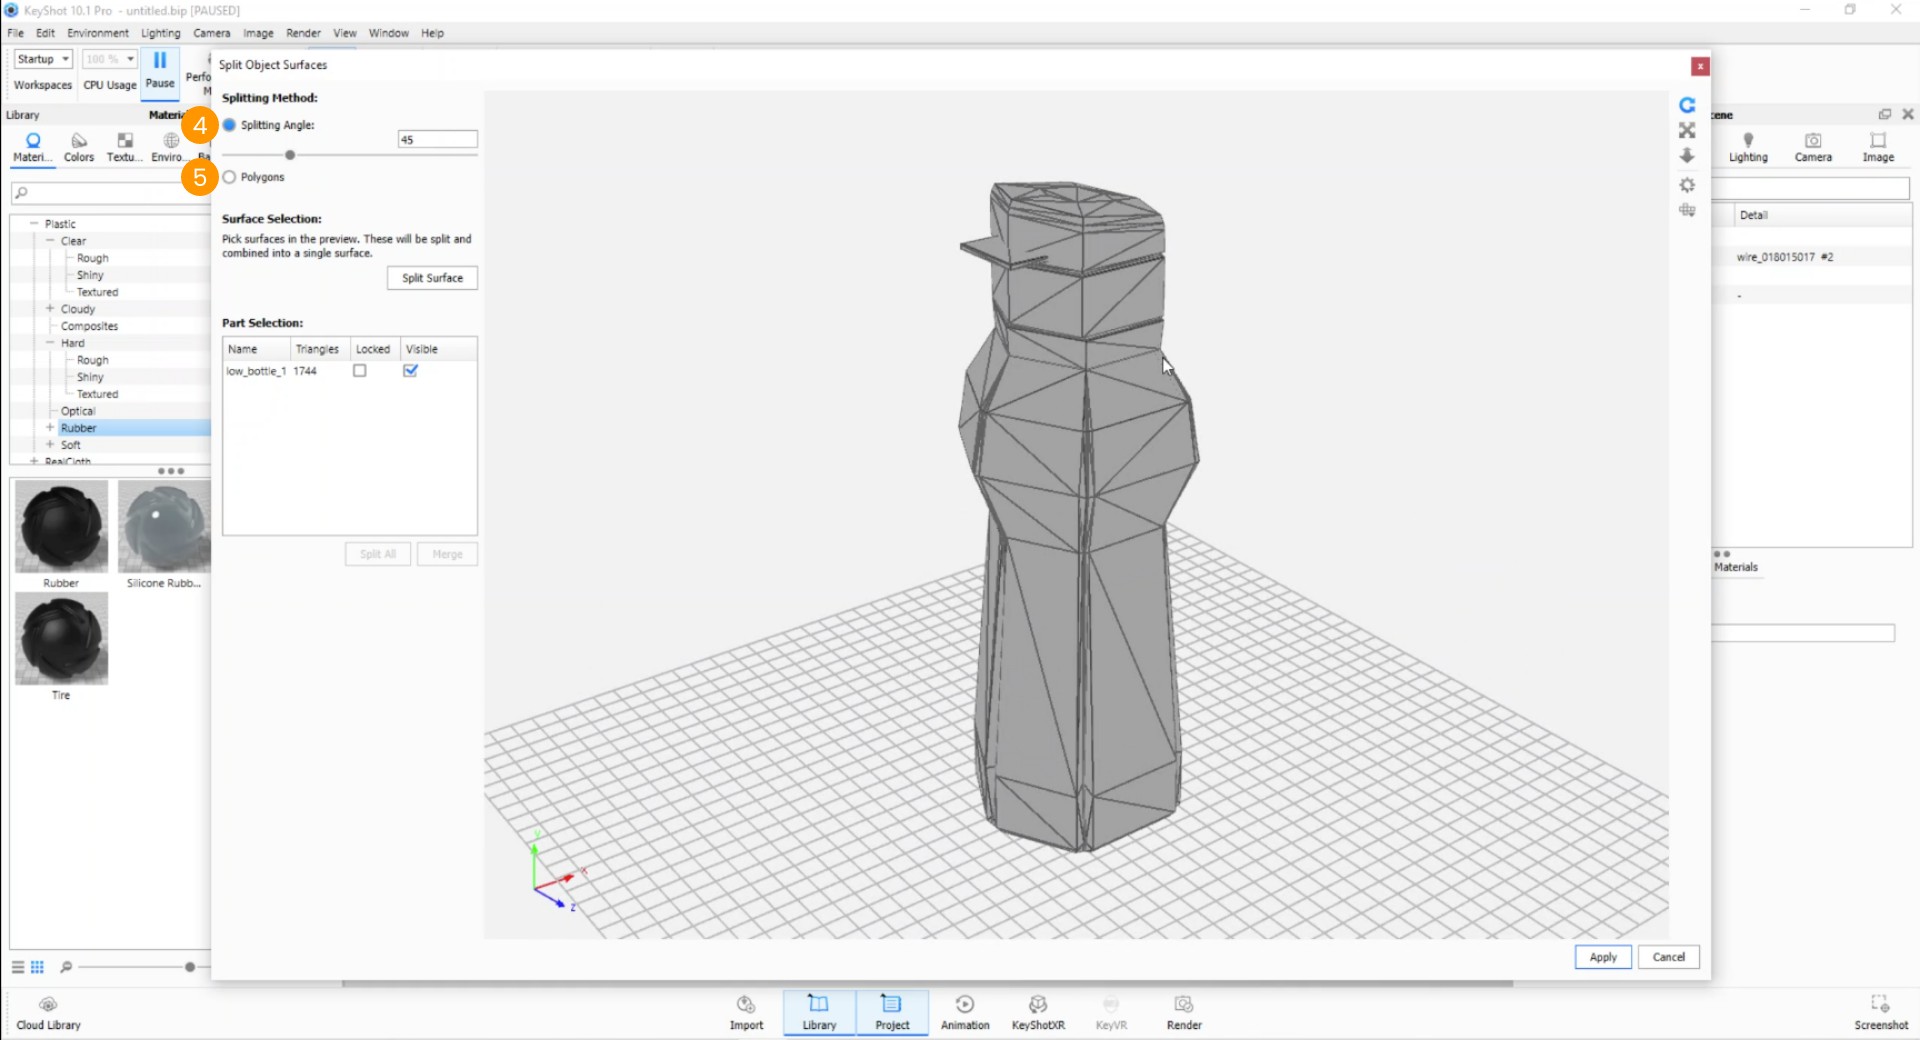
- by Polygons 4: you can select, holding down CTRL, single faces. This procedure is used when maximum precision is required.
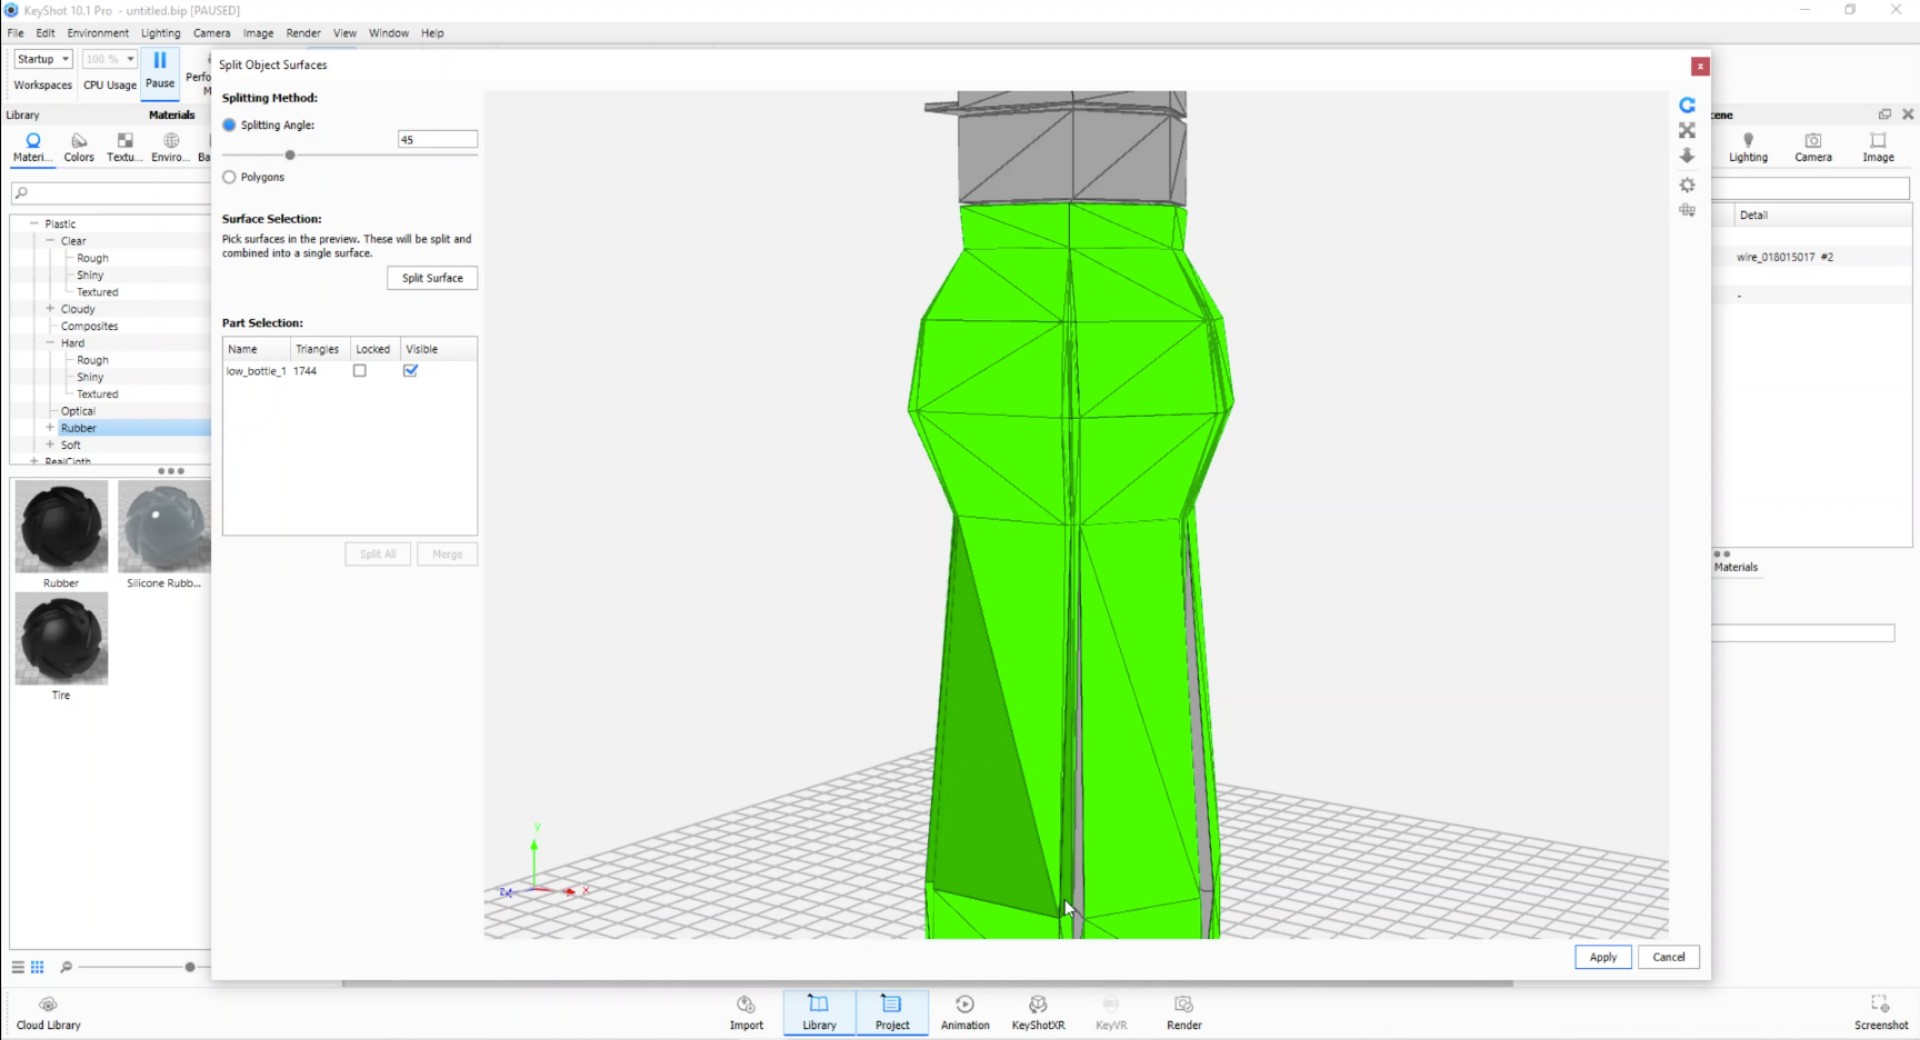
- by Splitting Angle 5: as you can see in the following image, all faces that have an inclination of less than 45°, starting from the clicked one, will be selected together with just one click (green faces). Hold down CTRL and click another face to expand the selection.
We use the second method because it is much faster.
We then begin to select the lower part: the bottle body.
Once all the faces have been selected, press on "Split Surface" 6 to generate the body. As we can see, a new body has just been generated, delimited by the orange line.
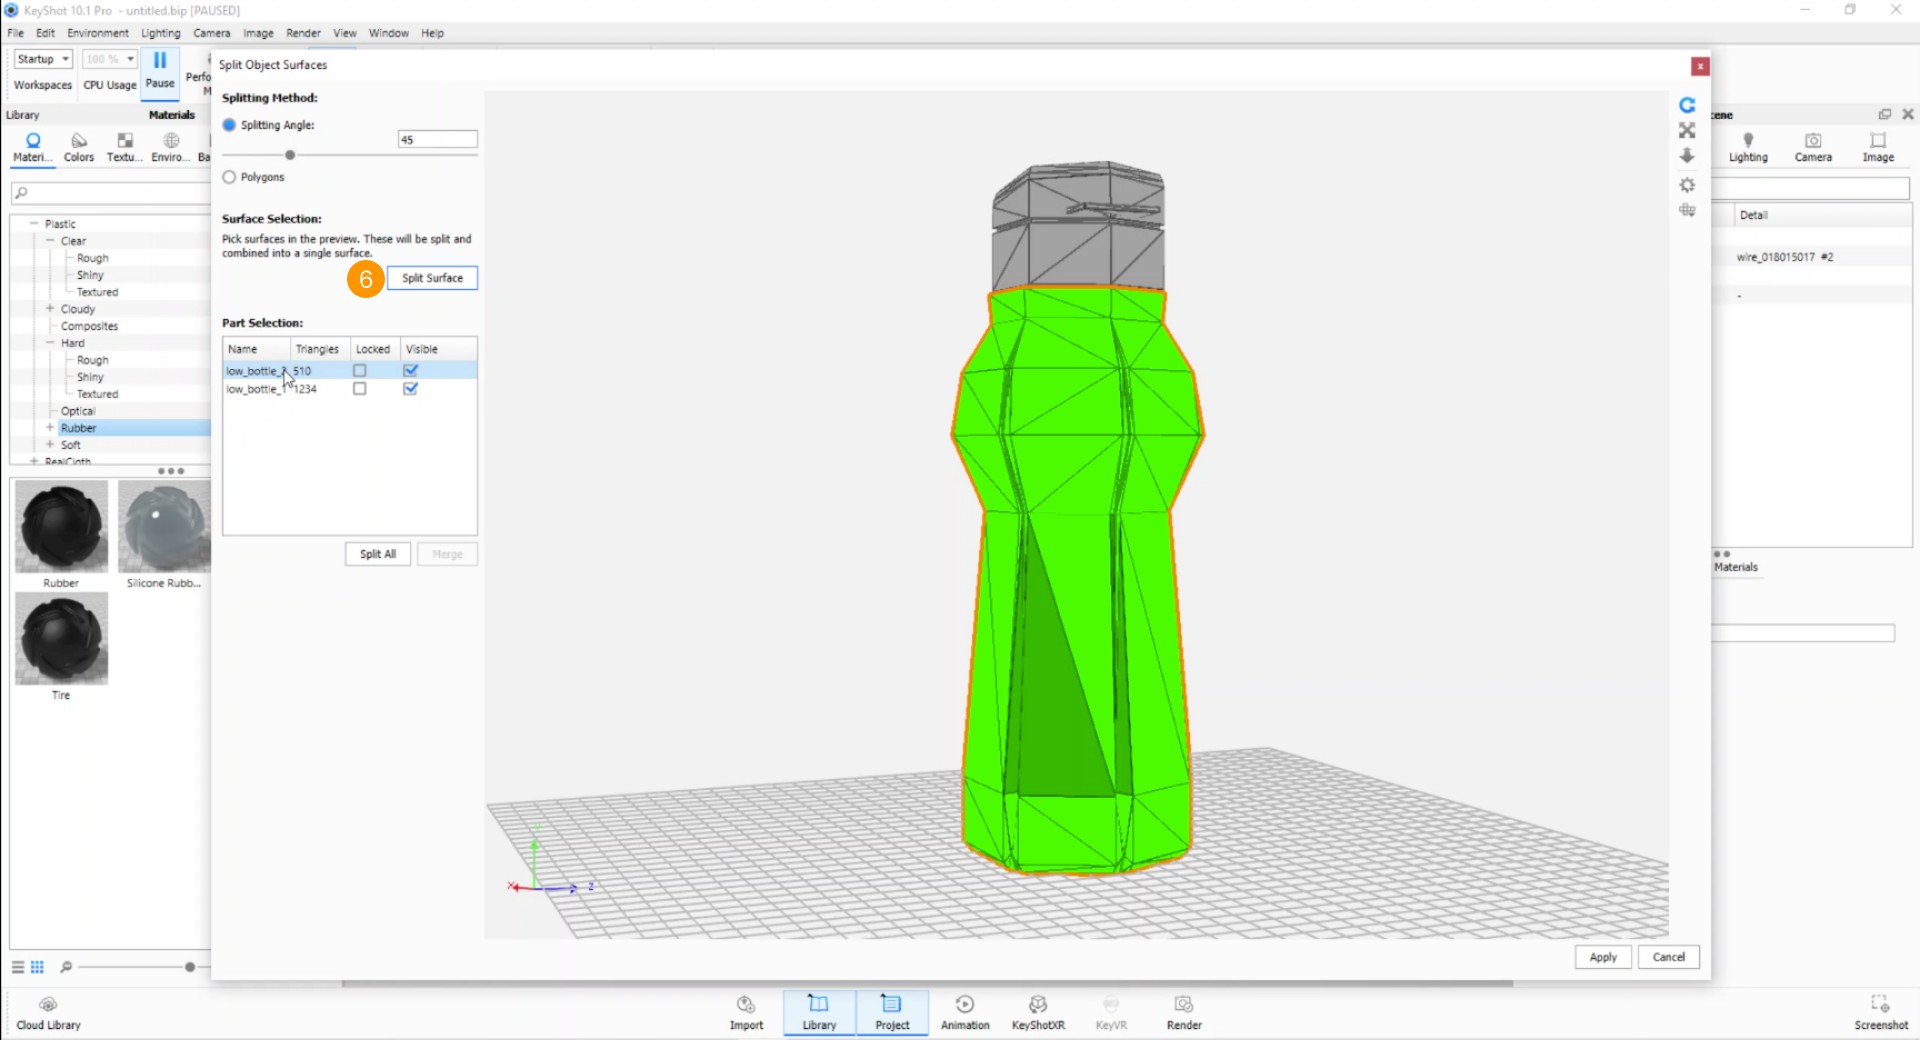
We repeat the same procedure for the cap as well.
Once completed, press on "Split Surface" and the cap body will be generated. At this point we click on "Apply" 7.
Let's now go to the model tree where, by pressing the "+" key, we can see the three separate bodies:
- the cap
- the bottle
- what remains of the original body, that is the internal part of the bottle that we did not used to create the outer surface.
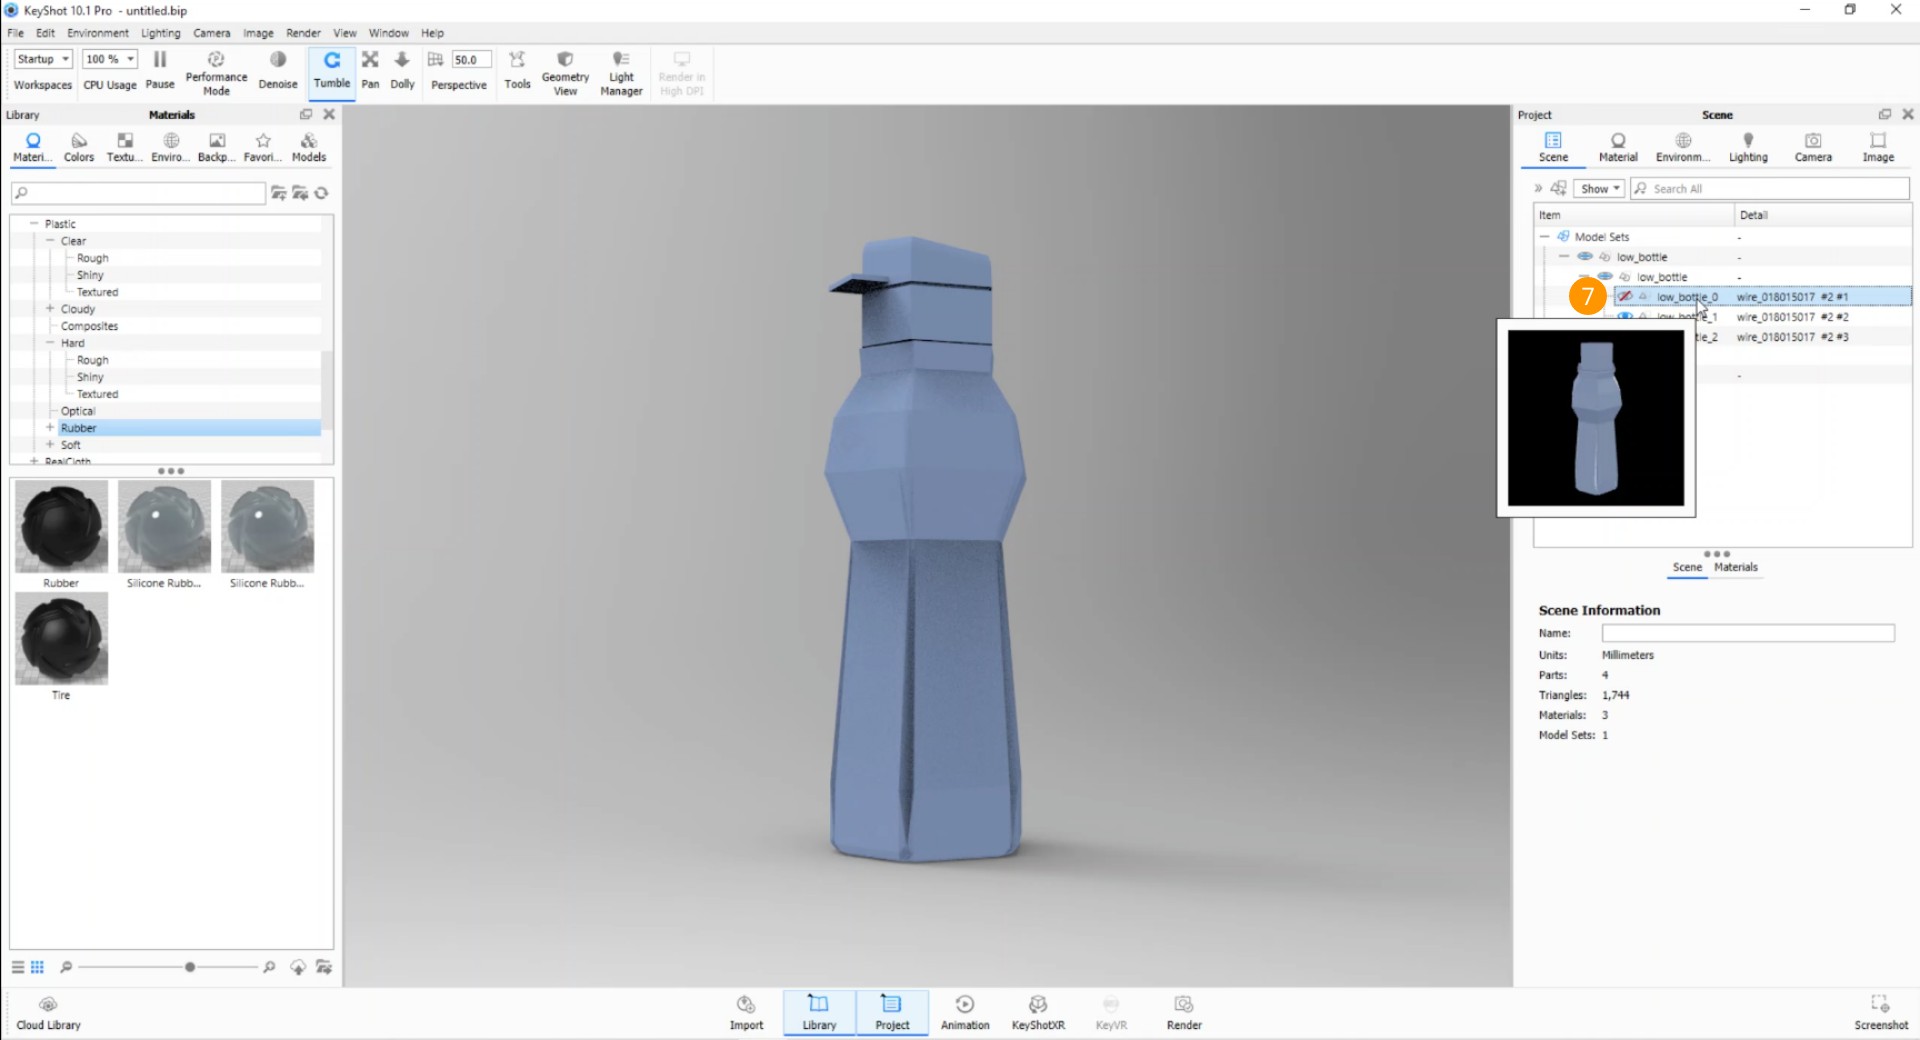
It is now possible to assign materials separately to the two objects we have just created.
